Yes, microcement works across most of a kitchen, floor, walls, splashback and worktop, but every zone has its own rules. The worktop is the most demanding because it takes heat, knives and spills every single day. With proper sealing and a few simple habits it gives a stunning seamless finish; treated as an indestructible slab, it disappoints.
Application
Microcement in Kitchens and Worktops: Benefits, Limits and Care (Water, Heat, Knives)
Is a microcement worktop heat resistant? Does it stain with wine or oil? An honest applicator's guide to what microcement can and cannot do in a kitchen, water, heat and knives included.
- Esteban Godoy Méndez
- 10 min read
- Category
- Application
- Reading
- 10 min
- Coverage
- Costa del Sol
Section 01
Can you use microcement across the whole kitchen?
I've been applying microcement in kitchens across Málaga and the Costa del Sol since 2020, and the kitchen is the room where the gap between sales talk and real experience shows most clearly. So this guide is straight with you: where microcement wins, where it has limits, and how to care for it so the result lasts. No hype, no scare stories.
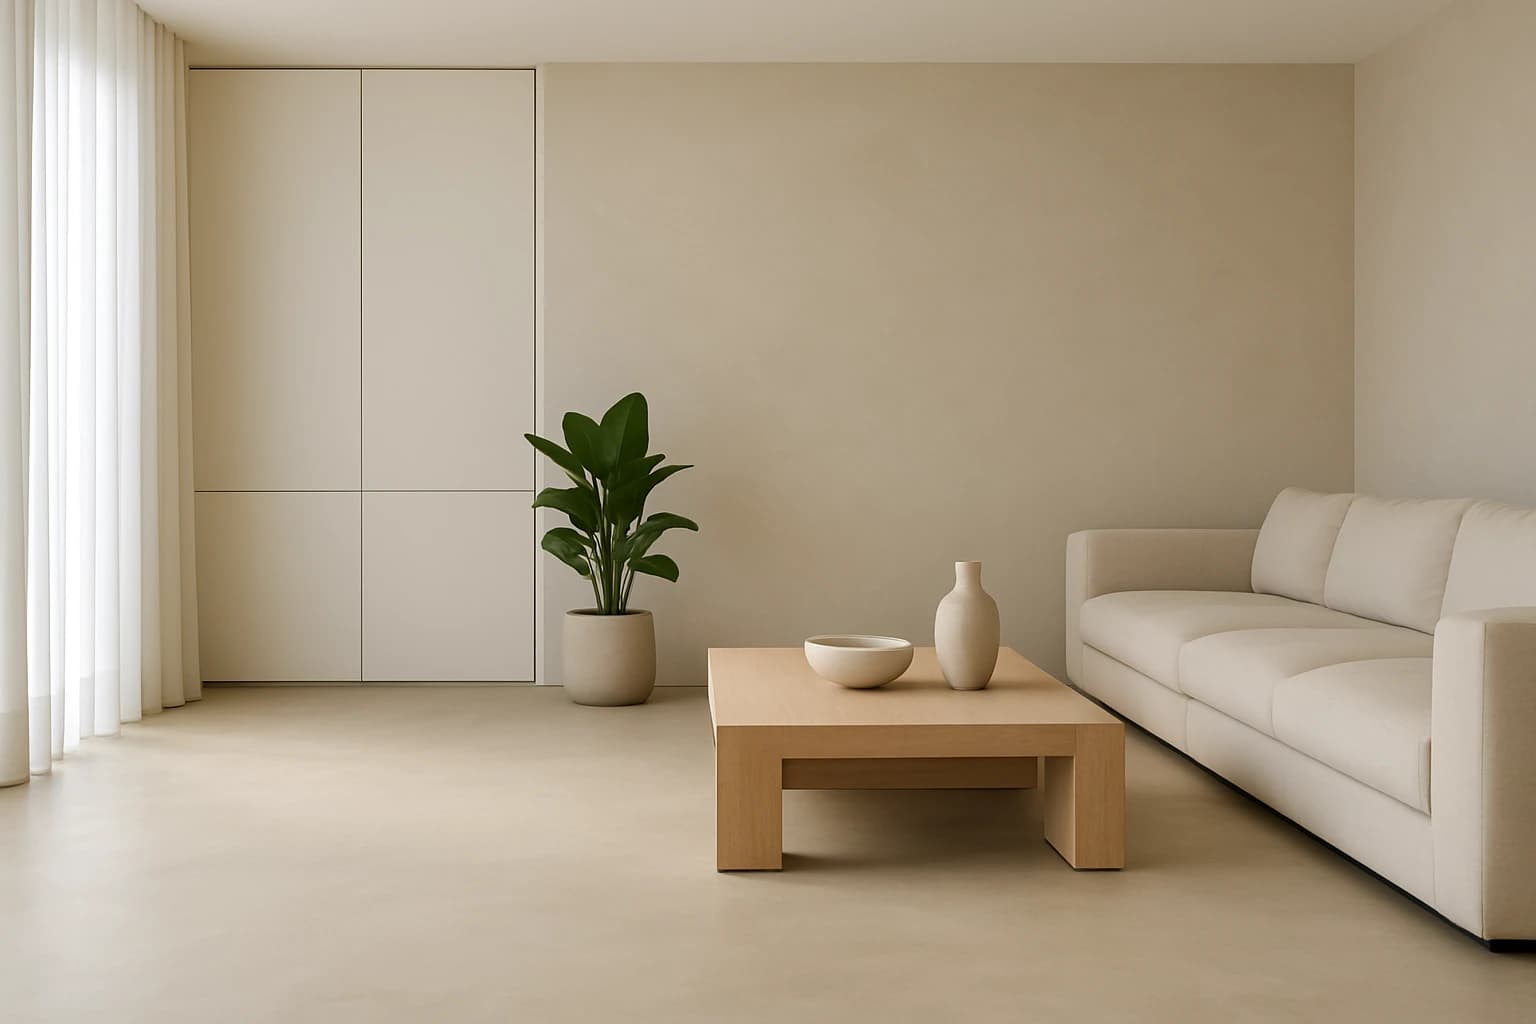
Microcement is a continuous coating, 2 to 3 mm thick, built up in layers and then sealed. In a kitchen, that seamless continuity is its great strength, both for looks and for hygiene. The trick is understanding that a worktop is not the same as a wall, and that a splashback does not demand what the worktop does.
Section 02
Which kitchen zones suit microcement best?
Not every surface in a kitchen takes the same punishment, so it helps to separate them out. Here is the reality zone by zone, from the easiest to the most demanding:
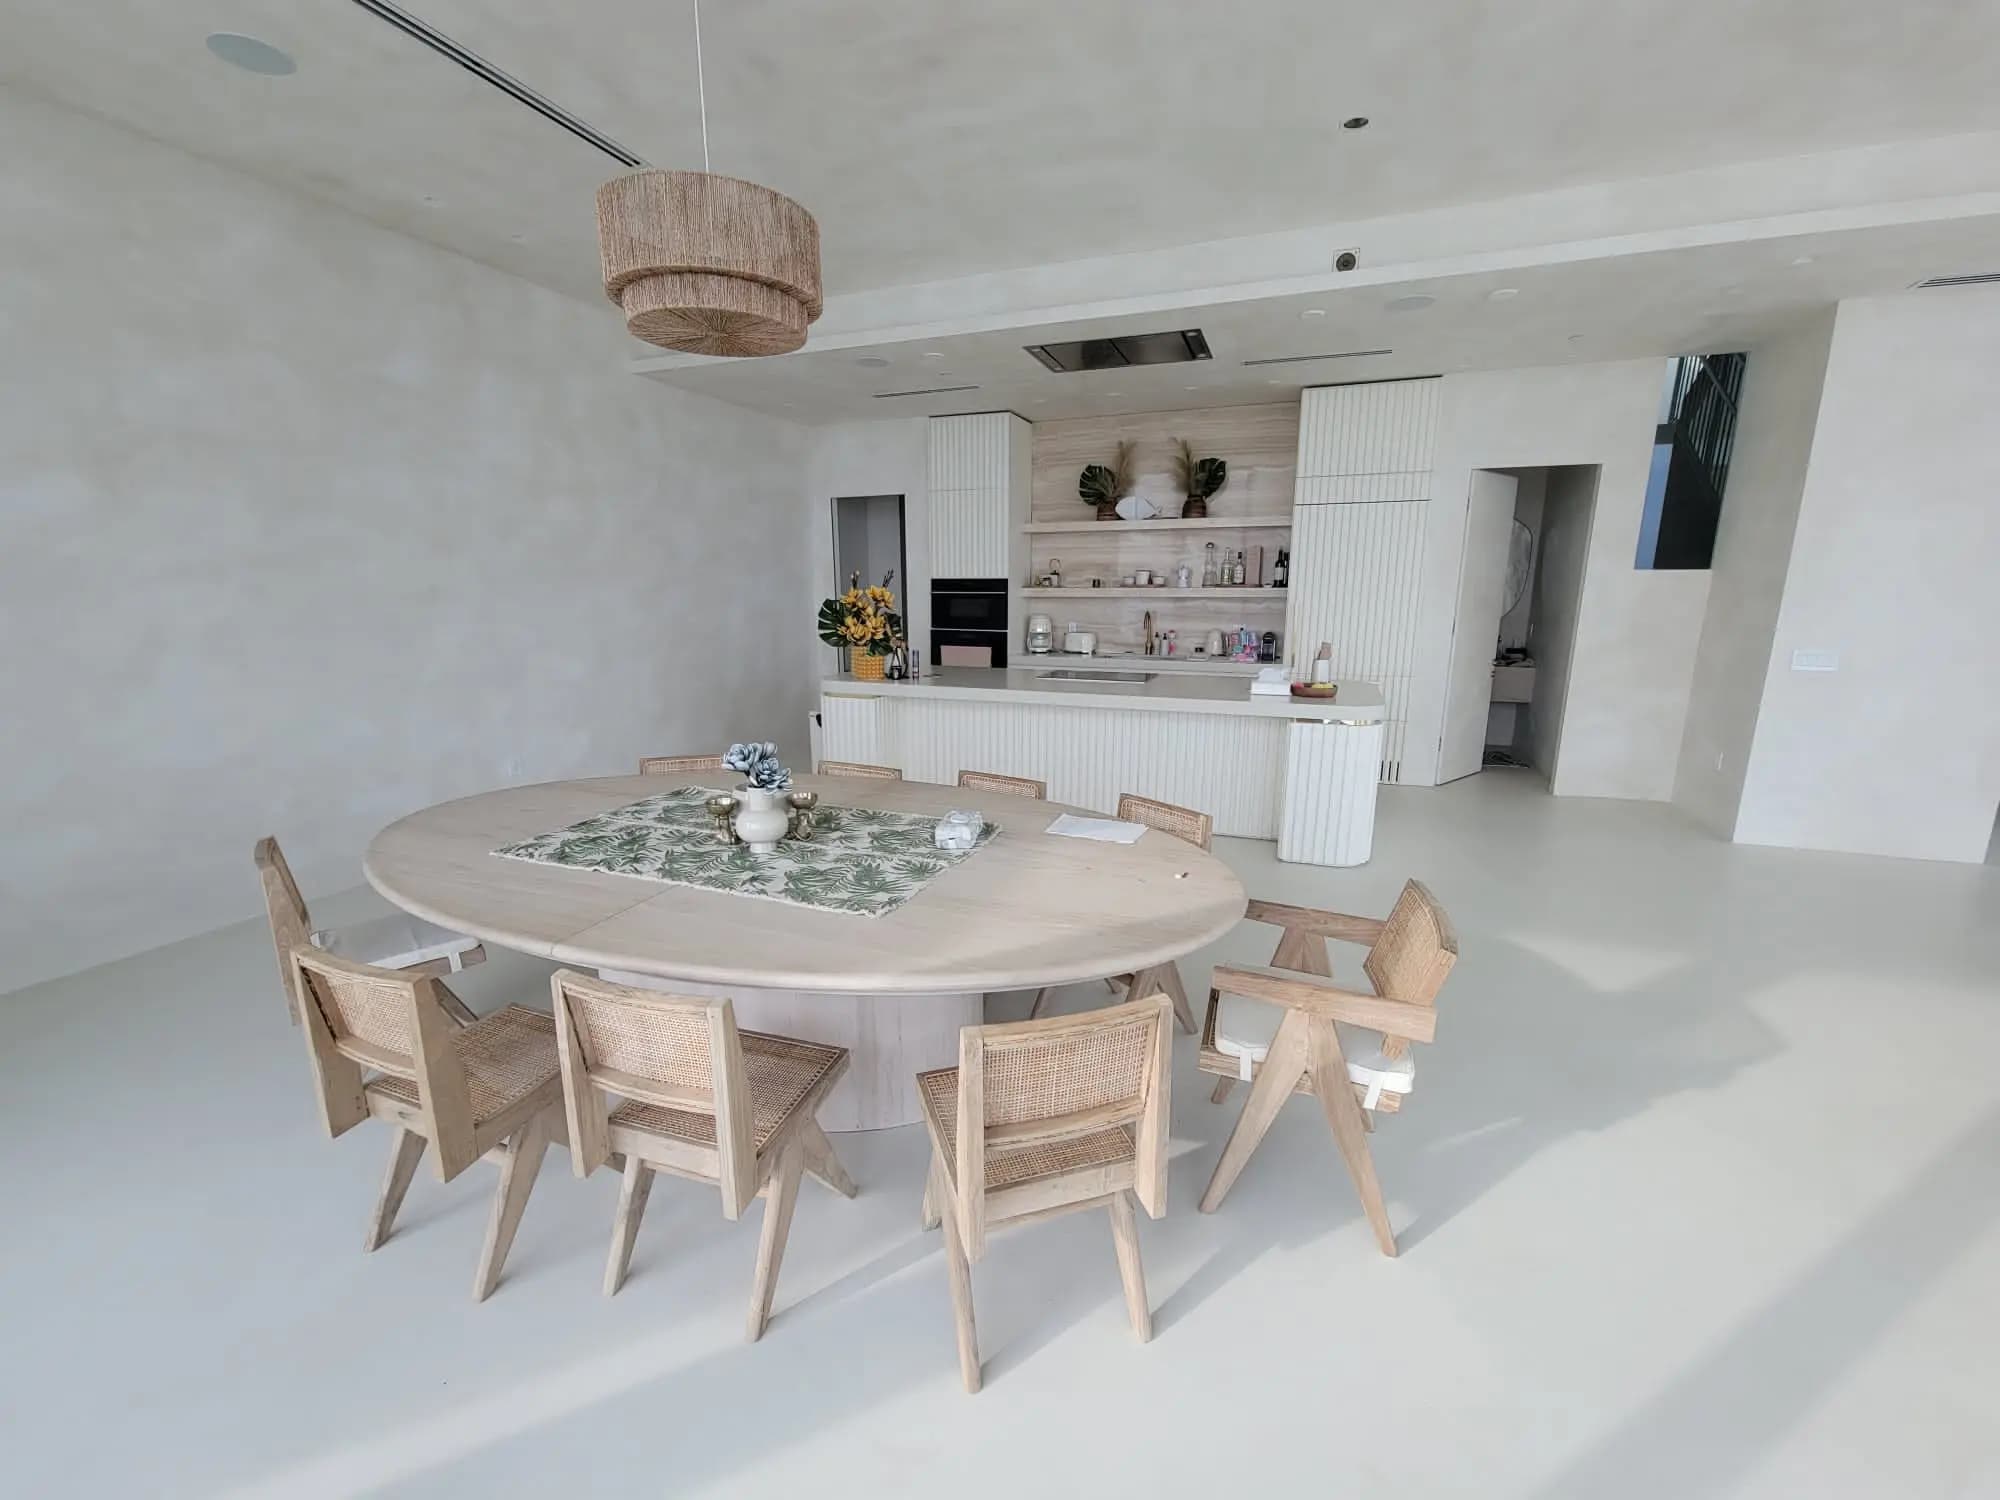
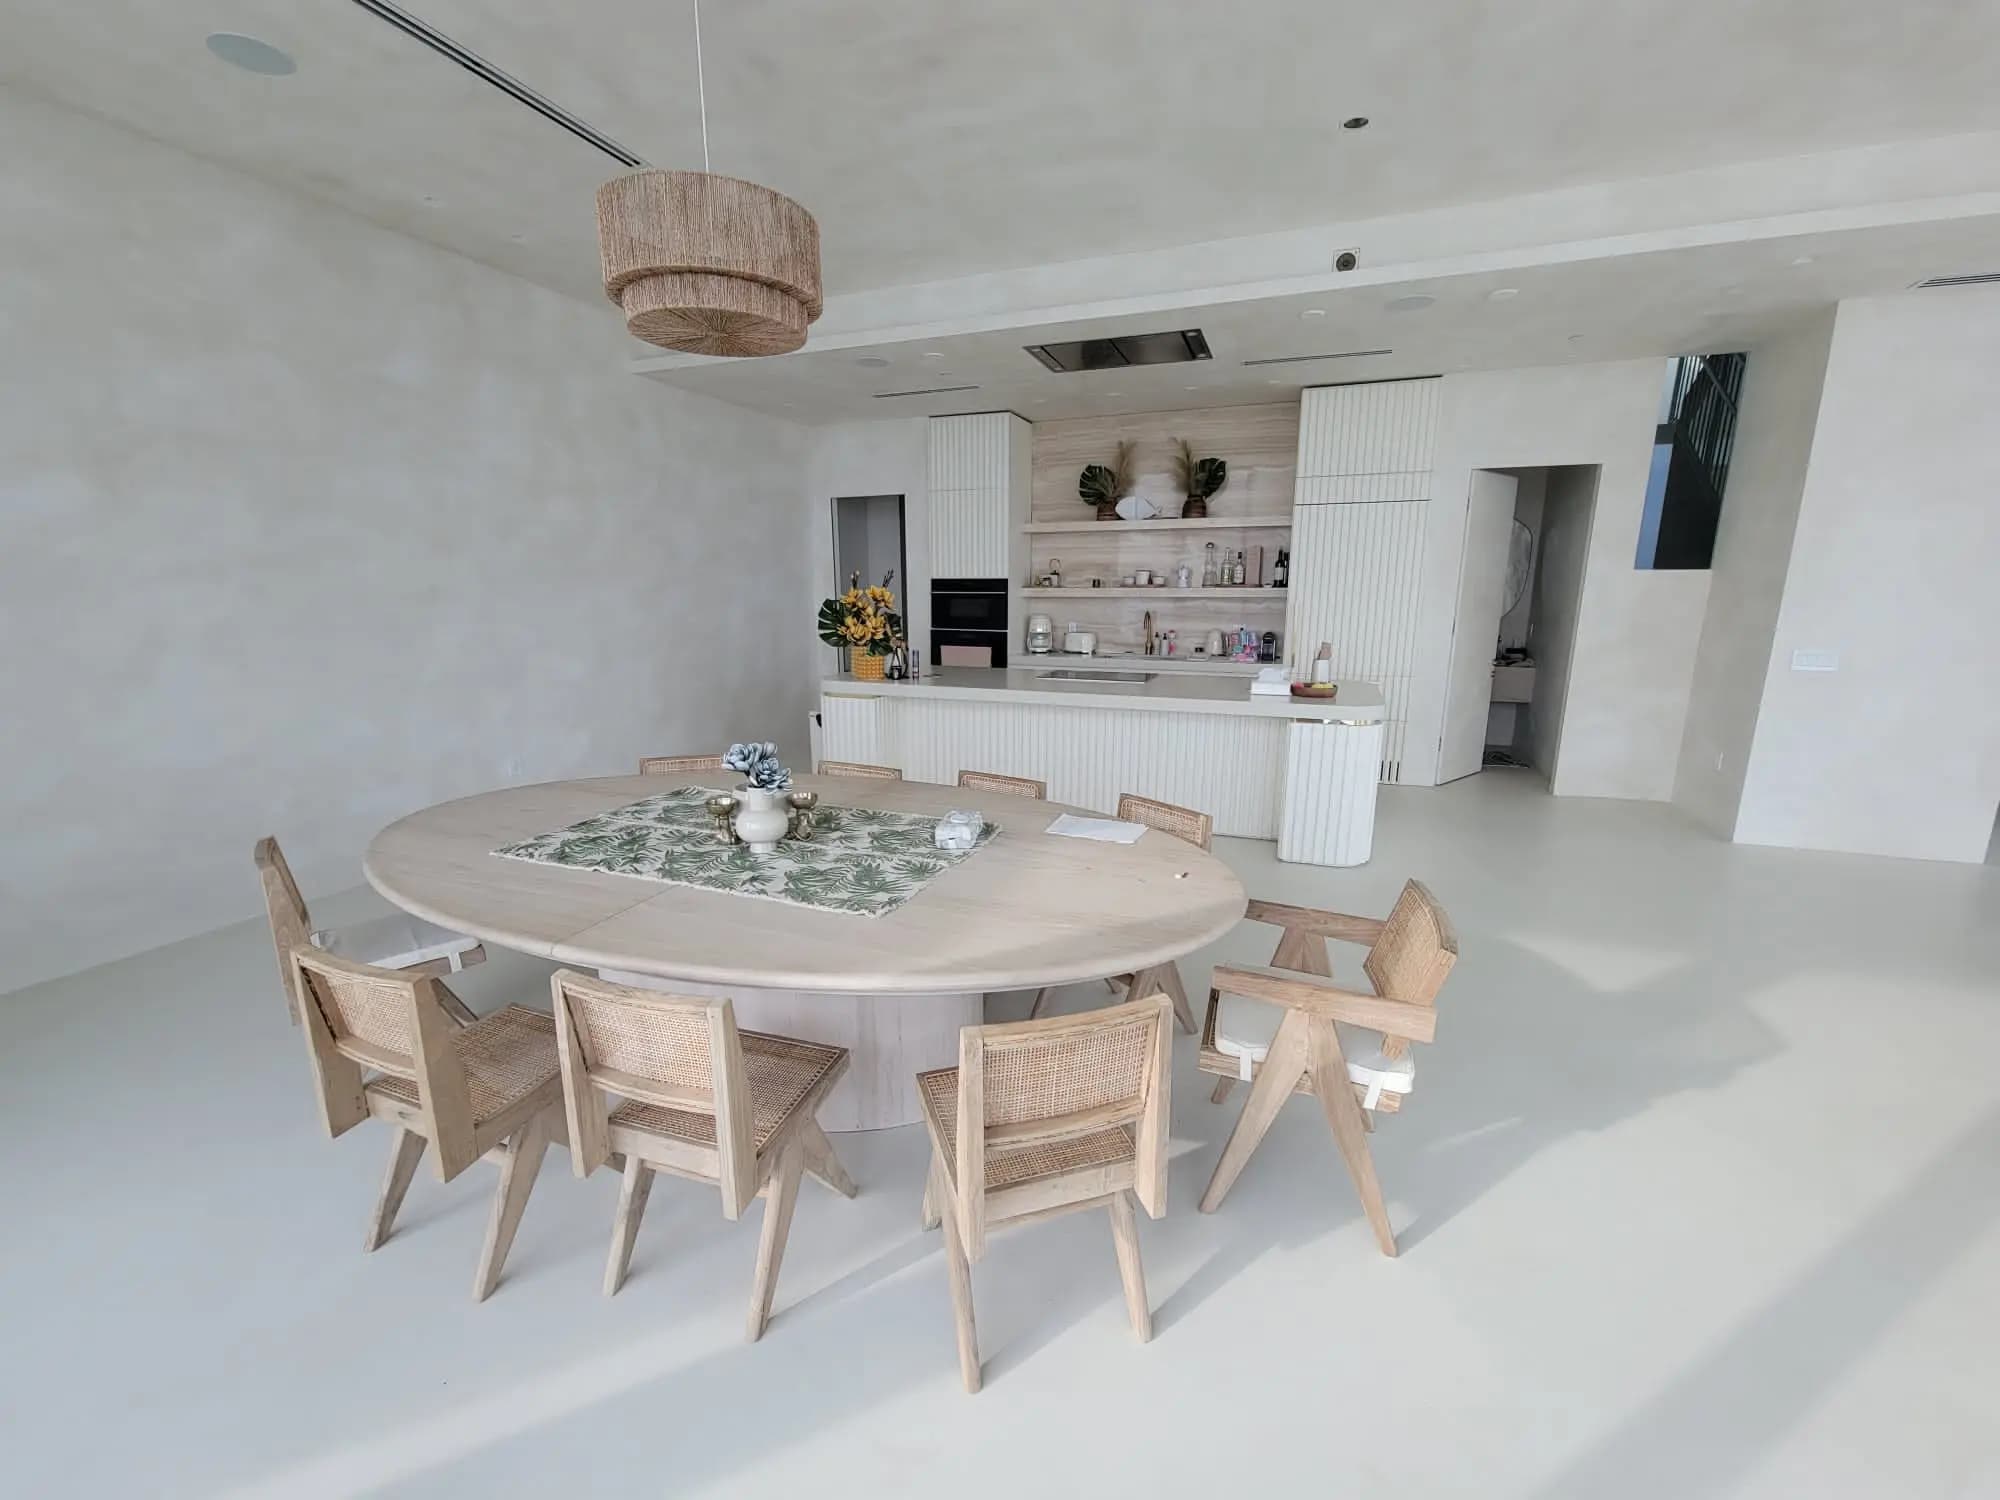
- Kitchen floor: one of the best applications of all. Seamless, easy to sweep and mop, hard-wearing under foot traffic and chairs. It flows straight into the living room in an open-plan layout.
- Walls and splashback: excellent. The run between worktop and wall units stays clean and modern, without the grout lines where grease builds up on tiles. It shrugs off everyday splashes.
- Splashback over existing tiles: in high demand. It refreshes the whole look with no chiselling and no rubble.
- Worktop: possible and very striking, but this is the delicate zone. Heat, knives and stains all come into play here, which is why it gets several sections of its own below.
What is the difference between coating the splashback and coating the worktop?
The splashback takes splashes and steam; the worktop takes direct hits, the edge of a knife, the hot base of a pan, the splash of red wine that spills. So although the material is the same, the splashback is a low-risk application while the worktop demands the toughest sealer in the catalogue and a little discipline in daily use that is worth knowing before you decide.
Section 03
Is a microcement worktop heat resistant?
Microcement copes with the ambient heat of a kitchen, but not with direct contact from a pan or pot straight off the hob. This needs saying plainly. The body of the microcement tolerates temperature well; the weak point is the polyurethane sealer on the surface, which can mark, lose its sheen or discolour with a sudden burst of heat.
The practical rule is the same one you already follow with many resin, laminate or even some engineered-stone worktops: a trivet or pan stand, always. A cork, wood or silicone rest between a hot pan and the worktop removes the problem entirely. This is not a flaw unique to microcement; it is the price of a design finish, against a granite that takes a hot pan without flinching.
If you cook a lot and tend to drop the hot pan straight onto the worktop out of habit, be honest with yourself: either change that habit, or microcement may suit you better on the splashback and floor, keeping the hob zone in stone. That combination works very well and we fit it often.
Microcement on site
Section 04
Does a microcement worktop stain with wine, oil or coffee?
Well sealed, microcement repels water and most everyday splashes. The risk is not water: it is strongly pigmented or acidic substances left to sit. Red wine, coffee, turmeric, beetroot, lemon or vinegar can leave a mark if they dry on the surface over hours.
The good news is that wiped up promptly, nothing happens. In a microcement kitchen the rule is simple: a spill that lands is a spill you clean. This is not fussiness; it is exactly what you already do with a treated-wood or resin worktop. The sealer does its job for a good while, but it is not eternal magic against a puddle of wine forgotten overnight.
For kitchens we always specify a high-resistance polyurethane sealer, the same one we use in the wet zones of a bathroom. That sealer is what separates a worktop that takes real use from one that stains at the first lapse.
Section 05
Is microcement hygienic and easy to clean with no joints?
Here microcement wins without argument. Being a continuous surface with no joints, it has no corners where food residue, grease or mould can build up. On a tiled splashback, dirt works its way into the grout and blackens over the years; with microcement, a single wipe of a cloth with neutral soap leaves it clean.
Day to day it could not be simpler:
- Clean with neutral soap (a mild washing-up liquid) and warm water.
- Use a cloth or microfibre; never metal scourers or abrasives.
- Dry the area around the sink after heavy use to look after the sealer.
- Avoid harsh products: concentrated bleach, ammonia, strong limescale removers or very acidic degreasers.
That absence of joints, combined with how easy it is to clean, is one of the reasons so many open-plan and design kitchens choose microcement on the splashback and walls. If you want to see how we apply it zone by zone, we go through it on our microcement kitchens page.
Microcement on site
Section 06
Can you cut directly on a microcement worktop?
No, always use a chopping board. A knife blade scores the sealer and can mark the microcement underneath, and dragging a heavy pan or pot across the surface can scratch it. This is not unique to microcement: you would not chop straight onto a wood, laminate or many resin worktops either. With a board in play, knives stop being a concern at all.
The same logic applies to anything sharp or abrasive: do not slide cast-iron pans across the surface, do not use the worktop as a hammering base, and lift heavy items rather than dragging them. None of this is demanding, but it is worth knowing before you choose microcement for the worktop rather than the splashback.
Section 07
Can you apply microcement over the existing kitchen tiles?
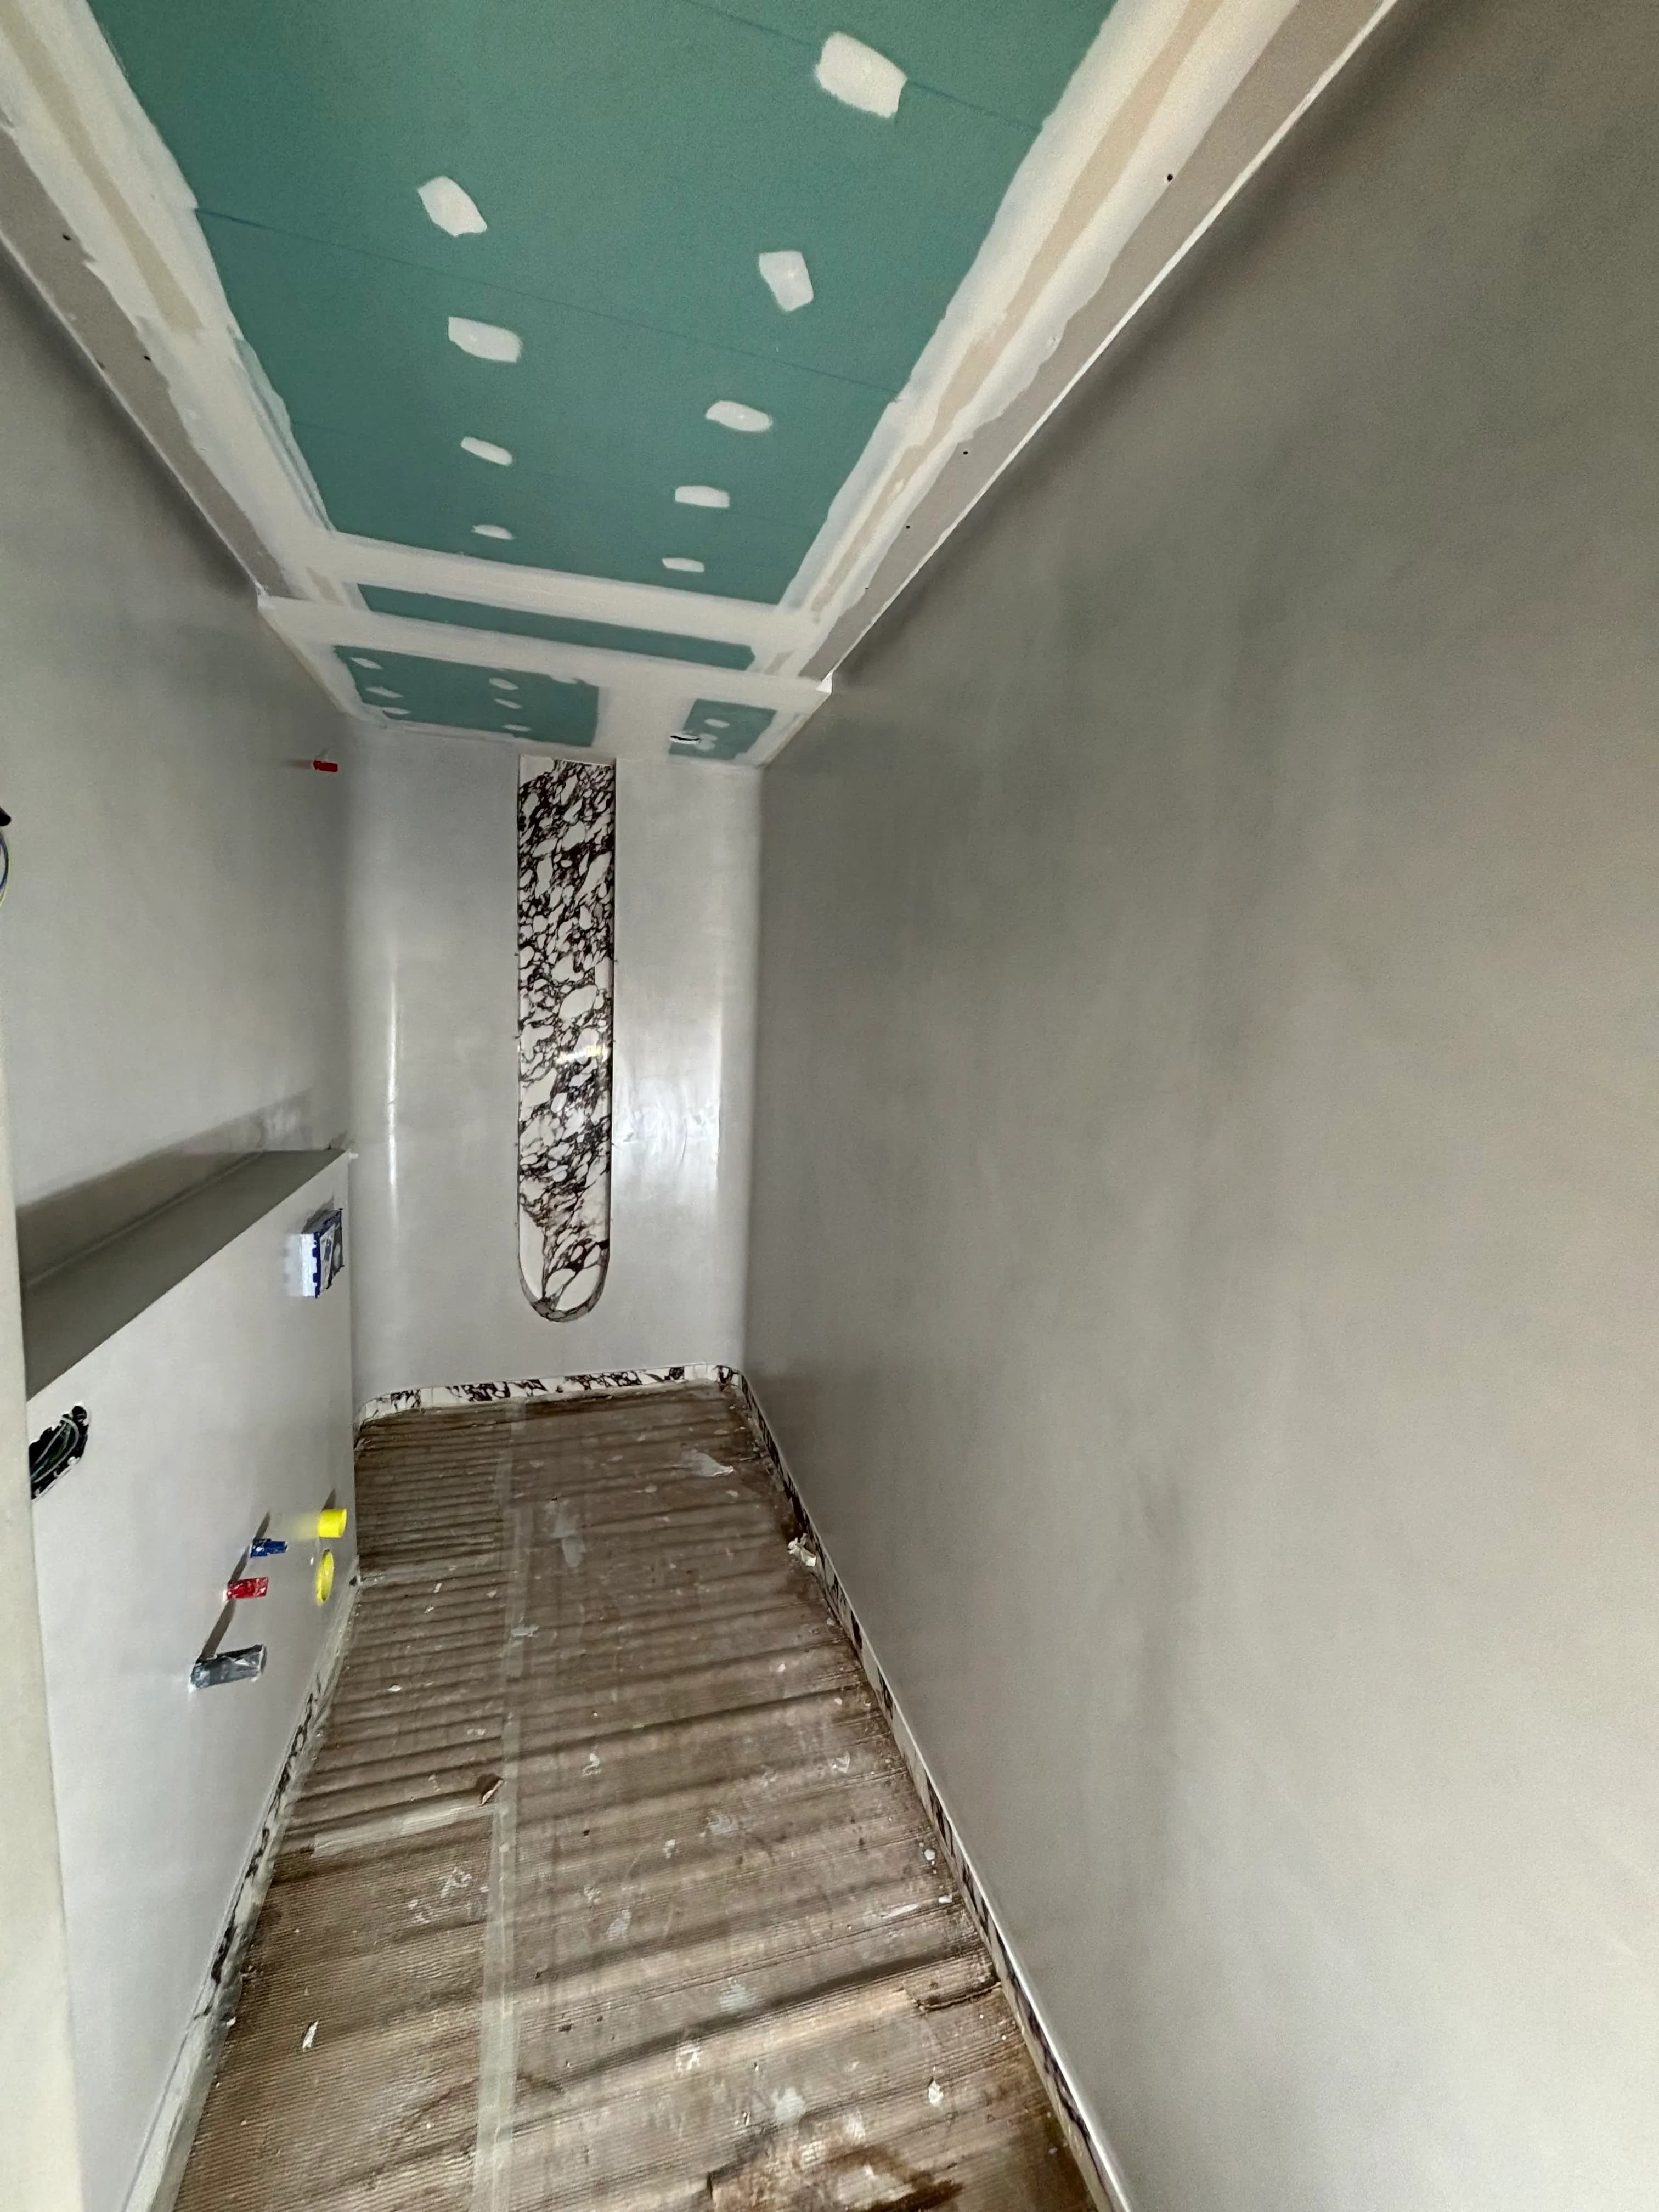
Yes, and it is one of the most requested renovations with no building work. If the splashback or wall tiles are sound and well bonded, microcement is applied straight over them, with no chiselling and no rubble. The process mirrors what we do in bathrooms:
- Thorough cleaning and degreasing of the tiles (kitchen grease is the enemy of adhesion).
- Repair of any loose or damaged tile.
- A specific bonding primer over the ceramic.
- Filling the grout lines so they do not show through the microcement.
- Base and finishing layers, fine sanding and the chosen colour.
- A final polyurethane sealer, resistant to water and grease.
Renovating a kitchen splashback this way transforms the look completely in a few days, without turning the home into a building site. It is exactly the kind of project where microcement shines and where the risk is low, because the splashback does not face cutting or direct heat the way the worktop does.
Microcement on site
Section 08
What maintenance does a microcement kitchen need?
Maintenance is simple, but it is not zero. Worth knowing before you decide. These are the four routines that separate a kitchen that ages well from one that gets damaged:
- Gentle daily cleaning: neutral soap and water, no abrasives or acidic products.
- Pigmented spills wiped at once: wine, coffee, turmeric or sauces should not dry on the surface.
- Heat protection: a trivet under any hot pan or dish on the worktop.
- Sealer renewal: from time to time, depending on use, the protective coat should be topped up, above all on the worktop and around the sink.
That periodic sealer renewal is what keeps the surface's resistance alive. It is not a building job: it is a quick preventive task, similar to re-waxing wood or refreshing the treatment on leather. Done in good time, the kitchen keeps its finish for many years, and at GM Microcemento every project is backed by a two-year guarantee.
Section 09
What are the real pros and cons of a microcement kitchen worktop?
From experience, I'd rather you knew the drawbacks before signing anything. Microcement in a kitchen is a magnificent finish, but it has concrete limits:
| Aspect | The honest reality |
|---|---|
| Direct heat | No hot pans or pots straight on the worktop; a trivet is compulsory. |
| Knives and cutting | No cutting on the surface; always a chopping board. |
| Pigmented stains | Wine, coffee or acids mark if left to dry; clean them at once. |
| Maintenance | The sealer needs renewing periodically in heavy-use zones. |
| Depends on the applicator | Poor sealing means stains and premature wear; it is not DIY. |
| Cost | Higher than a basic laminate; it pays back through design and durability. |
Direct heat
- The honest reality
- No hot pans or pots straight on the worktop; a trivet is compulsory.
Knives and cutting
- The honest reality
- No cutting on the surface; always a chopping board.
Pigmented stains
- The honest reality
- Wine, coffee or acids mark if left to dry; clean them at once.
Maintenance
- The honest reality
- The sealer needs renewing periodically in heavy-use zones.
Depends on the applicator
- The honest reality
- Poor sealing means stains and premature wear; it is not DIY.
Cost
- The honest reality
- Higher than a basic laminate; it pays back through design and durability.
Against that, what you get is a kitchen that is seamless, continuous, hygienic and bespoke, with the option to unify floor, walls, splashback and worktop in one visual language. For many clients, that look and that sense of space more than make up for the care routines. For anyone who wants a slab that takes everything without a second thought, granite or porcelain remain more carefree.
My honest recommendation, after dozens of kitchens: microcement on the floor, walls and splashback is a safe, low-maintenance choice; on the worktop, it is beautiful but asks for disciplined use. If those habits suit you, go for it. If not, a mixed solution gives you the best of both worlds, and you can pair colours and textures from our finishes and colours range either way.
Want to know what your kitchen would cost depending on the surfaces you coat? You can check our per-square-metre rates on the pricing page and ask us for a no-obligation assessment for your specific case in Málaga or across the Costa del Sol.
Section 10
Frequently asked questions about microcement in kitchens and worktops
Can you use microcement in the kitchen? Yes. It works across the floor, walls, splashback and worktop, applied with no building work over what is already there. It gives a seamless, hygienic, design finish. The worktop is the demanding zone, as it faces heat, knives and spills daily.
Are microcement worktops durable? Properly applied and sealed, yes, they last for years. Durability depends on the applicator and on sensible use: a board for knives, a trivet for hot pans and prompt cleaning of pigmented spills. Treated as a design surface, it holds up very well.
Is a microcement worktop heat resistant? It handles a warm kitchen but not a pan straight off the hob. The sealer can mark or discolour with sudden heat, so a trivet is essential, just as with resin or laminate worktops.
Is microcement waterproof for a kitchen? Yes, once sealed as a complete system. The polyurethane top sealer makes the surface repel water and splashes. Dry the area around the sink after heavy use; standing water left for days is the real risk.
Can you cut directly on a microcement worktop? No, always use a chopping board. A knife scores the sealer and can mark the surface, and dragging heavy pans can scratch it. With a board, knives are a non-issue.
What are the real pros and cons of microcement in a kitchen? The pros are a seamless, hygienic, bespoke finish that unifies the whole kitchen. The cons are no direct heat, no cutting on the surface, prompt cleaning of pigmented spills and periodic sealer renewal in heavy-use zones.
Frequently asked questions
Common questions
Can you use microcement in the kitchen?
Yes. Microcement works across most of a kitchen, floor, walls, splashback and even the worktop, applied with no building work over what already exists. It gives a seamless, hygienic, design finish. The worktop is the most demanding zone because it faces heat, knives and spills daily, so it needs the toughest sealer and a little care to perform.
Are microcement worktops durable?
Properly applied and sealed, a microcement worktop is hard-wearing and lasts for years. Durability depends almost entirely on the applicator and on sensible use: a chopping board for knives, a trivet under hot pans and wiping pigmented spills promptly. Treated as a design surface rather than an indestructible slab, it holds up very well in daily kitchen use.
Is a microcement worktop heat resistant?
It withstands a warm kitchen environment but not a pan straight off the hob placed directly on it. The weak point is the polyurethane sealer, which can mark or discolour with sudden heat. Always use a trivet or pan stand, exactly as you would with a resin or laminate worktop. A stone like granite shrugs off direct heat; microcement does not.
Is microcement waterproof for a kitchen?
Yes, once it is applied as a complete system and sealed. Microcement on its own is porous; the polyurethane top sealer is what makes the worktop and splashback repel water and everyday splashes. Around the sink, dry the surface after heavy use to look after the sealer. Standing water left for days is the real enemy, not the odd splash.
Can you cut directly on a microcement worktop?
No. Never cut directly on the surface, always use a chopping board. A knife blade scores the sealer and can mark the microcement underneath, and dragging pans or pots can scratch it too. This is the same rule that applies to wood, laminate and many resin worktops. With a board, knives are a non-issue.
What are the real pros and cons of a microcement kitchen worktop?
The pros: a seamless, jointless, hygienic, bespoke finish that unifies worktop, splashback and floor in one look. The cons: no direct heat from pans, no cutting on the surface, prompt cleaning of pigmented spills, and renewing the sealer periodically in heavy-use zones. If those habits suit you it is excellent; if you want a worry-free slab, granite or porcelain is more forgiving.

Written by
Esteban Godoy Méndez
Microcement applicator and founder of GM Microcemento
Esteban Godoy is a professional microcement applicator and the founder of GM Microcemento. Since 2020 he has delivered continuous-coating projects in homes and commercial spaces across Málaga and the Costa del Sol.
Meet GM MicrocementoKeep reading
Related articles
 Application
Microcement and Underfloor Heating: Compatibility and How It's Done
Microcement and underfloor heating work brilliantly together when the substrate is prepared properly and the heating is commissioned in the right order. Here is exactly how a professional applicator does it, and why it won't crack.
Esteban Godoy MéndezRead article
 Application
How Microcement Is Applied, Step by Step: Primer, Mesh, Coats and Sealing
The real microcement application process, coat by coat: substrate prep, primer, fibreglass mesh, base and finish coats, sanding and sealing. Explained by a professional applicator on the Costa del Sol.
Esteban Godoy MéndezRead article
Online estimator
Your quote in 4 simple steps
Estimate your microcement online in under 5 minutes. We review it by hand within 48 hours and send you a precise quote, with no obligation.
Fast
4 simple steps, done in 5 minutes.
Reviewed in 48h
A specialist checks it by hand — not an automatic number.
Precise
A quote tailored to your square metres and your finish.
Take the next step
Ready to take the step with microcement?
If this guide has cleared up your doubts, let's take the next step: work out the cost or ask us for a no-obligation quote in Málaga and across the Costa del Sol.