Microcement is applied as a system of several thin coats over the existing substrate: first you prepare and prime the surface, then you spread two base coats with fibreglass mesh, then two finish coats with their sanding in between, and finally you seal. From start to finish the process runs to six to eight stages and several days of work.
Application
How Microcement Is Applied, Step by Step: Primer, Mesh, Coats and Sealing
The real microcement application process, coat by coat: substrate prep, primer, fibreglass mesh, base and finish coats, sanding and sealing. Explained by a professional applicator on the Costa del Sol.
- Esteban Godoy Méndez
- 11 min read
- Category
- Application
- Reading
- 11 min
- Coverage
- Costa del Sol
Section 01
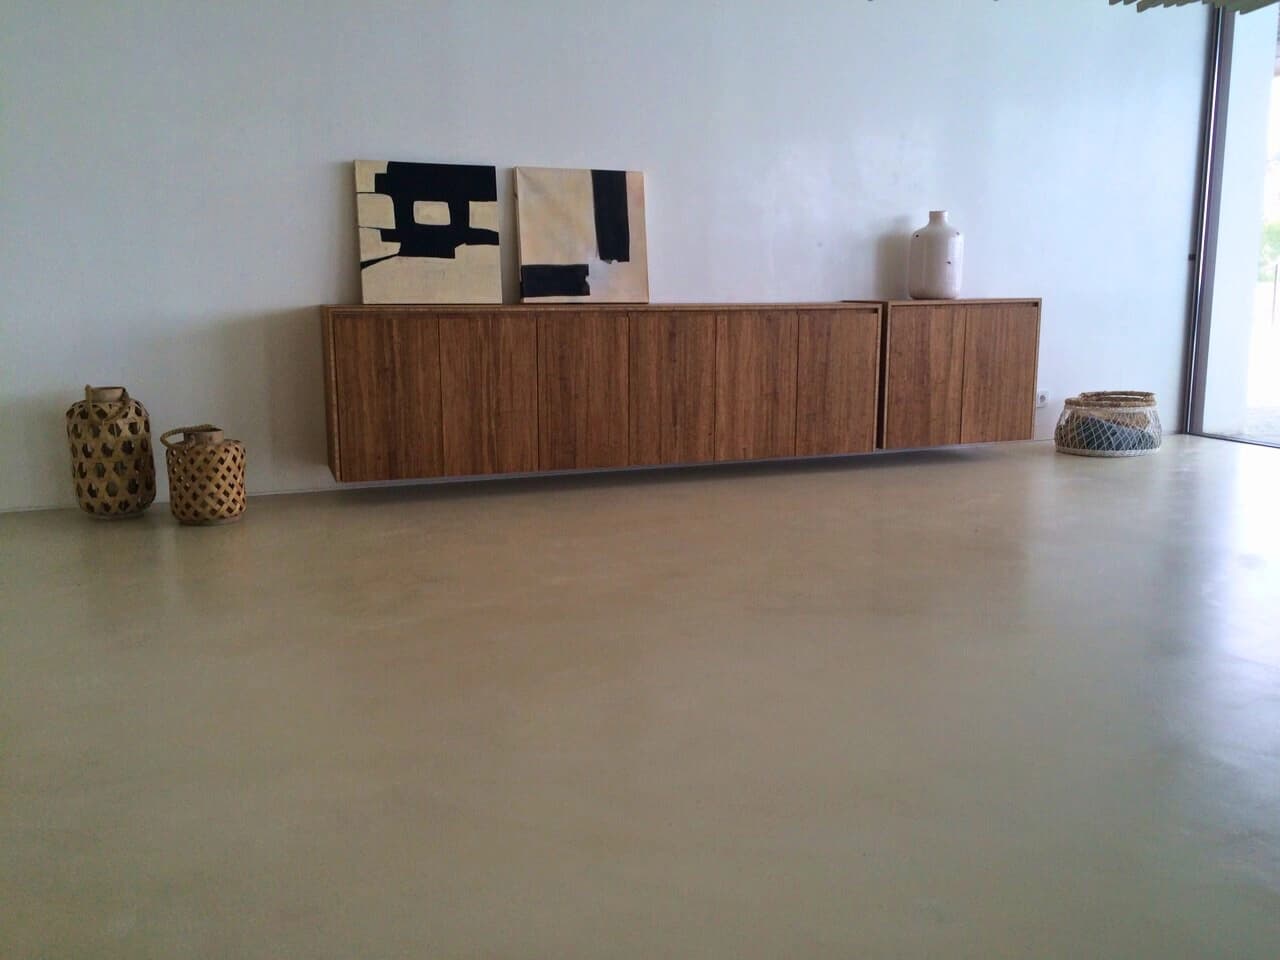
How is microcement applied, step by step?
That is the short answer. But behind each of those stages there are technical decisions that separate a floor lasting years from one that stains or lifts within months. In this guide I'll explain, from the real experience of applying it project after project across the Costa del Sol, what happens at every step and why none of them can be skipped.
Before the detail, one idea worth fixing: microcement is not a paint, and it is not a product you simply "slap on and you're done". It is a seamless coating, 2 to 3 mm thick, built coat over coat, and its result depends almost entirely on the hand applying it. That is exactly why this is one of the trades where the gap between an amateur and a professional shows most.
The application process, stage by stage
Here is the full run-through of a professional microcement application, in order:
- Substrate preparation. The surface is cleaned, degreased and repaired. Loose tiles are fixed, cracks are sound out, and significant unevenness is levelled. A firm, clean substrate is the foundation for everything that follows.
- Bonding primer. The right primer is applied for the type of base. This is the bridge that makes the microcement genuinely grip.
- First base coat + mesh. The first base coat goes on and the fibreglass mesh is embedded into it across the critical areas.
- Second base coat. This covers the mesh and consolidates the body of the coating. Once dry, it is sanded to even out the surface.
- First finish coat. A thin coat that starts to define the chosen colour and texture.
- Second finish coat + fine sanding. The final look is closed and sanded with a fine grit to leave the intended feel.
- Sealing. One or more sealer coats that protect and waterproof the surface.
- Curing. A waiting period before heavy use, so the sealer reaches full strength.
Each of these steps has its own drying times, and respecting them is not optional. Below I'll walk through the ones that decide the outcome.
Section 02
What is primer and why is it essential?
Primer is the product applied to the substrate before the microcement to create the bonding bridge between the two. Without it, microcement cannot grip reliably and, sooner or later, it lifts or cracks. It is the invisible step that holds the whole system together.
What makes this stage tricky is that there is no universal primer. Each base needs its own:
- Over tile or porcelain, a gripping primer with aggregate that "bites" into the smooth, low-porosity surface.
- Over plaster or plasterboard, a primer that seals the porosity and consolidates the base.
- Over concrete or screed, a primer that regulates absorption so the material doesn't dry out too fast.
Choosing the wrong primer is one of the most expensive mistakes in the trade, because the fault doesn't appear until weeks later, when the coating starts to sound hollow or lift at the edges. That is why correctly identifying the substrate before priming is part of the technical work of an experienced applicator — and a recurring theme across our microcement floors and microcement walls projects.
Section 03
How many coats of microcement are applied?
Microcement normally uses four to six thin coats, on top of the primer and the sealer. The number isn't arbitrary: each group of coats does a different job within the system.
Base coats
The first two coats are base microcement (sometimes called preparation coats). They have a slightly coarser grain and form the body of the coating. The fibreglass mesh is embedded into these coats. Their purpose isn't decorative but structural: to give consistency and create the seamless surface the finish will sit on.
Finish coats
The last two coats are finish microcement, with a finer grain. These define the colour, the texture and the final look — rustic, smooth or with special effects. They go on very thin, with the trowel, and there is sanding both between and after them to achieve the intended feel.
Between every coat there is always drying and, in most cases, sanding. That intermediate sanding is what removes the trowel marks and leaves a uniform surface. Skipping it, or rushing it, is one of the most common causes of an uneven finish.
Microcement on site

Section 04
Why is fibreglass mesh used and where does it go?
Fibreglass mesh is a reinforcing scrim embedded into the first base coats to spread the substrate's stresses and absorb its small movements. Its job is to stop cracks in the substrate from telegraphing through to the microcement surface.
Think of it this way: the substrate always moves a little. A tile grout line, the joint between two different materials, or a hairline crack in concrete all flex with changes in temperature and load. Without mesh, those movements eventually appear as a line in the finish. With the mesh, the stress is distributed across the whole fibre net and the surface stays seamless.
That's why the mesh is especially important at these points:
- Floors, where foot traffic and thermal change create constant stress.
- Junctions between walls and floor, and between different materials.
- Over tiles, so the grout lines don't show through over time.
- In areas that already had hairline cracks before application.
It's one of those steps the client never actually sees — it ends up buried under the following coats — but it separates work that lasts from work that cracks at the first cold snap.
Section 05
What's the difference between base coat and finish coat?
The base coat builds the structure; the finish coat builds the look. They are not the same product applied twice, and treating them as interchangeable is a classic shortcut that shows later.
| Aspect | Base coat | Finish coat |
|---|---|---|
| Main job | Structure and adhesion | Colour, texture and final feel |
| Grain | Coarser | Finer |
| Carries the mesh | Yes (first base coats) | No |
| Thickness per coat | Thin, builds the body | Very thin, decorative |
| Number of coats | Usually two | Usually two |
| Sanding | After drying, to level | Fine sanding, to set the feel |
Main job
- Base coat
- Structure and adhesion
- Finish coat
- Colour, texture and final feel
Grain
- Base coat
- Coarser
- Finish coat
- Finer
Carries the mesh
- Base coat
- Yes (first base coats)
- Finish coat
- No
Thickness per coat
- Base coat
- Thin, builds the body
- Finish coat
- Very thin, decorative
Number of coats
- Base coat
- Usually two
- Finish coat
- Usually two
Sanding
- Base coat
- After drying, to level
- Finish coat
- Fine sanding, to set the feel
In short, the base coats give the surface its strength and continuity, and the finish coats give it the colour, texture and character you actually see and touch. A good result needs both done well: a beautiful finish over a weak base will not last.
Section 06
Why does microcement need a pre-sealer and a top-sealer?
The sealer is the protective layer applied at the end that turns microcement — porous by nature — into a surface that is hard-wearing, washable and, in wet areas, waterproof. Without sealer, microcement would stain with the first glass of red wine or the first splash of oil.
Sealing typically happens in two stages, and they do different things:
- Pre-sealer. Penetrates and closes the pore from within, consolidating the surface and preparing it to receive the top-sealer evenly. It's the step that makes the final protection uniform rather than patchy.
- Top-sealer. The wear layer that takes the day-to-day rubbing — footfall, cleaning, splashes — and defines whether the finish ends up matt, satin or gloss.
Together, sealing does three jobs at once: it waterproofs (closing the pore so water and liquids run off rather than soak in, which is what makes microcement viable in bathrooms and showers), it protects against wear, and it sets the final appearance.
The choice of sealer depends on how the area is used. A living room may only need a standard sealer; a shower, wet room or kitchen uses a high-performance polyurethane sealer with strong water and stain resistance. Getting this product right matters as much as any other coat, which is why it's always part of the quote we prepare for each project — see how that's broken down on our pricing page.
Microcement on site

Section 07
How long does each coat take to dry?
Each thin coat usually needs around four to six hours to dry before it can be sanded, and up to eight in cooler or more humid conditions — something worth bearing in mind in a coastal climate like the Costa del Sol, where humidity swings through the year. Temperature, ventilation and the type of coat all shift these times, so an experienced applicator reads the surface rather than the clock alone.
This is why a microcement project takes several days. The coats and their drying times cannot be compressed: every coat has to be properly dry before the next goes on, and the sealer needs its full cure before the surface takes heavy use. Trying to speed this up is one of the most frequent reasons jobs fail later. There is no shortcut that survives the first few months of real use.
Section 08
Can you apply microcement yourself?
Product is sold to the public, but, being honest, microcement is not a reliable DIY job. I'm not saying that to sell more work: I'm saying it because I've had to redo more than one floor that someone tried to apply themselves, and redoing it costs more than having it done properly from the start.
The reason is that the finish depends on details that only come with practice:
- The pressure and angle of the trowel, which set the thickness and texture of each coat.
- The drying times between coats, which change with the temperature and humidity of the day.
- The sanding, which has to be done at exactly the right point — neither with the coat too fresh nor too dry.
- The even sealing, with no pooling and no missed patches.
A mistake at any of those points leaves trowel marks, blotches, tone changes or areas that lift, and almost always means redoing the whole surface. The microcement product is affordable; the hand applying it is what truly decides the result. If you'd like to know how we work and our track record as applicators, we cover it on our about us page.
Microcement on site
Section 09
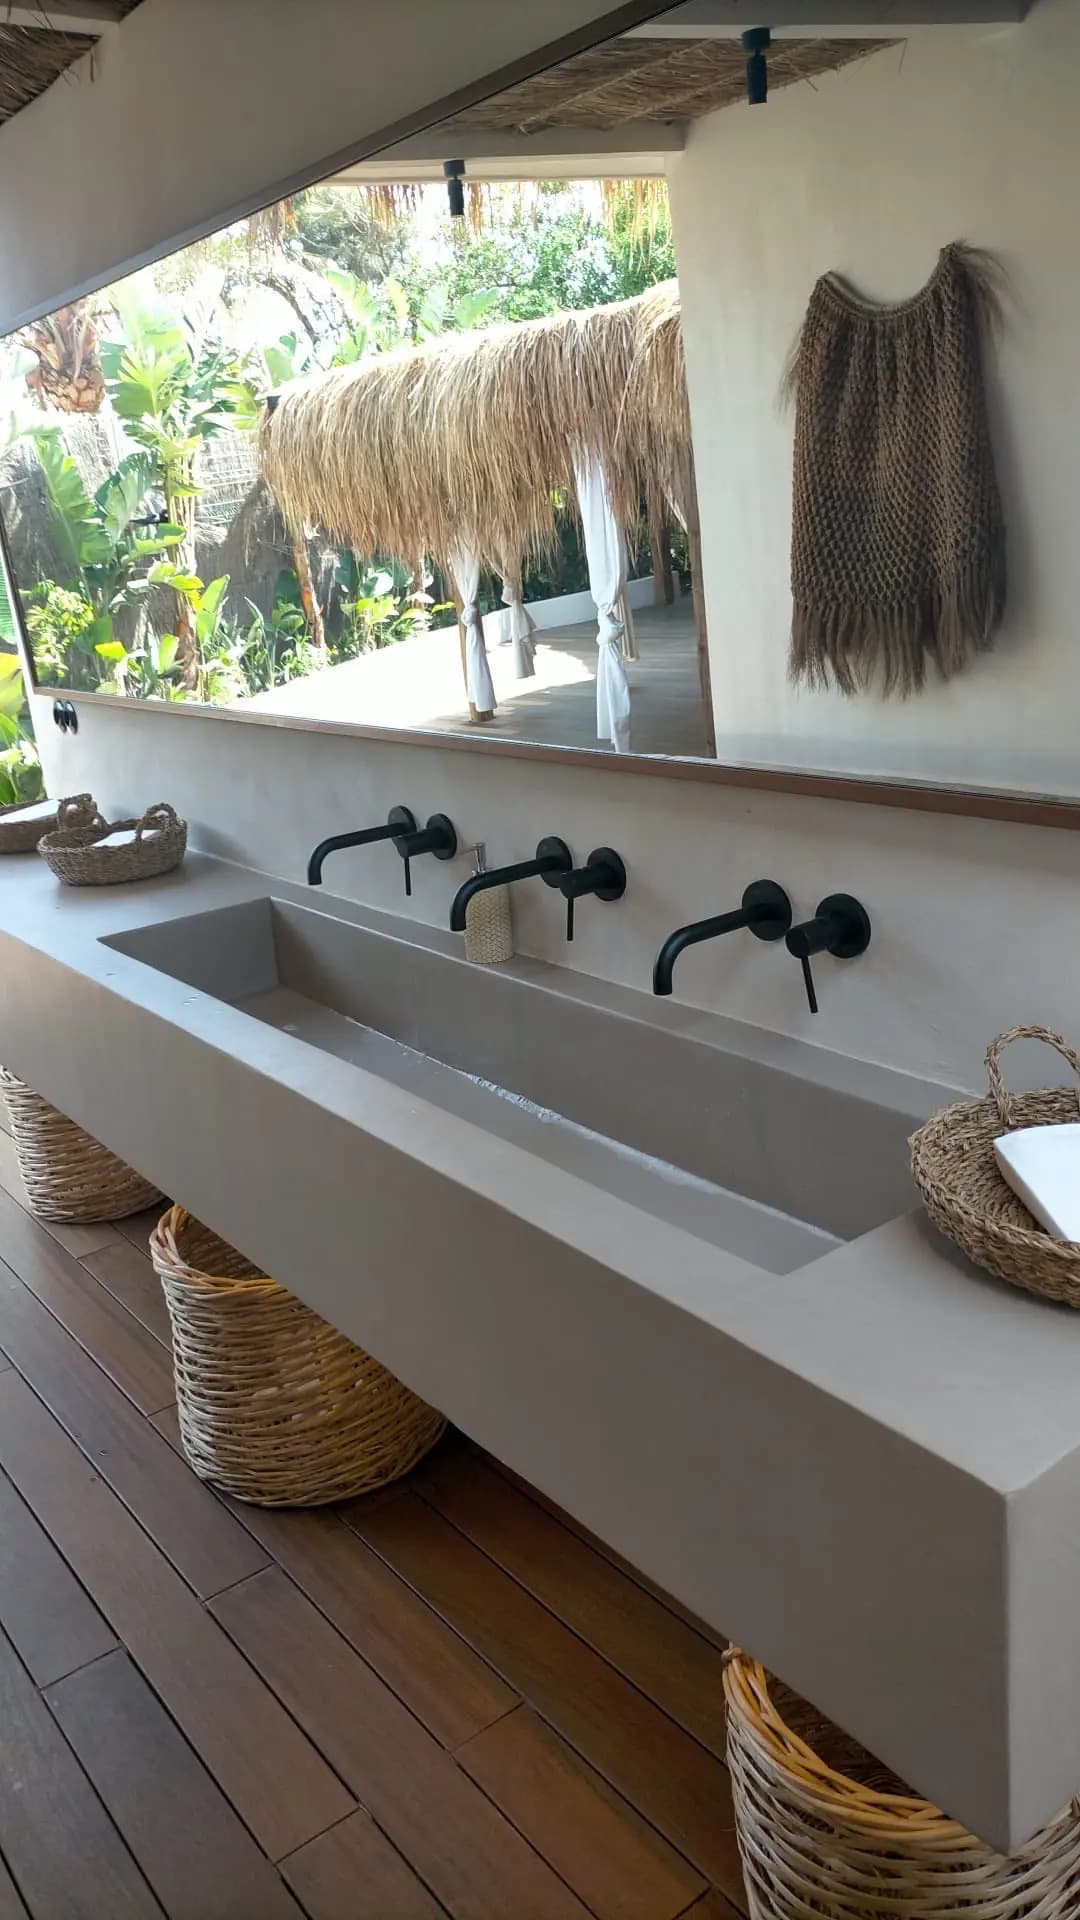
What happens if a step in the process is skipped?
Skipping a step nearly always turns into a visible fault that appears weeks or months later. Each stage of the system has a specific job, so leaving any one out creates a weak point. This table summarises what fails when each step is cut short:
| Step skipped or done badly | Typical consequence |
|---|---|
| Poor substrate preparation | Lifting, hollow sound, inherited cracks |
| Wrong or missing primer | Microcement won't grip and peels off |
| No fibreglass mesh | Substrate cracks telegraph through the surface |
| Coats applied too thick | Crazing and cracking as they dry |
| Insufficient drying between coats | Marks, uneven tone, lack of hardness |
| Sanding skipped or rushed | Trowel marks and a rough finish |
| No sealing, or wrong sealer | Staining, water absorption and premature wear |
Poor substrate preparation
- Typical consequence
- Lifting, hollow sound, inherited cracks
Wrong or missing primer
- Typical consequence
- Microcement won't grip and peels off
No fibreglass mesh
- Typical consequence
- Substrate cracks telegraph through the surface
Coats applied too thick
- Typical consequence
- Crazing and cracking as they dry
Insufficient drying between coats
- Typical consequence
- Marks, uneven tone, lack of hardness
Sanding skipped or rushed
- Typical consequence
- Trowel marks and a rough finish
No sealing, or wrong sealer
- Typical consequence
- Staining, water absorption and premature wear
It's important to understand that many of these faults aren't visible on handover day. A freshly applied microcement surface can look great and only start to fail later, when the shortcuts catch up with it. That's why real quality control in this trade lives in respecting the full process — not in how good the photo looks on day one.
Section 10
The same process, adapted to each surface
Although the overall scheme is the same, the process is tuned to where it's applied. On a floor, extra care goes into the mesh and a traffic-resistant sealer; you can see the detail on our microcement floors page. On a wall or feature wall, the focus shifts to a flawless finish coat and the right matt or satin sealer, which we cover on microcement walls. And in every case, the number of coats and the type of finish are assessed after seeing the real substrate.
For an idea of cost by surface, you can check our pricing, where we break down what each project includes: materials, coats, mesh and sealing, with no surprises.
Section 11
In summary: why the process is everything
If you take one idea from this guide, let it be this: with microcement, the result is the process. There's no final trick that fixes a badly prepared substrate, and no magic sealer that papers over missing mesh. It's a system of coats where each one supports the next, and quality is built from the bottom up, in order, respecting the times.
So, more than the product — which is good to begin with — the important decision when commissioning microcement is who applies it. A well-prepared substrate, the correct primer, the mesh in place, thin and properly dried coats, and the right sealer are what turn a noble material into a surface that lasts for years. And that only comes with experience.
Frequently asked questions
Common questions
How many coats of microcement are applied?
A microcement system normally uses four to six thin coats, plus the initial primer and the final sealer. These break down into two base coats (which carry the fibreglass mesh) and two finish coats, each with its own drying and sanding. The exact number depends on the system, the substrate and the look you want.
Why is primer needed before microcement?
Primer creates the bonding bridge between the existing substrate and the microcement. Without it the coating cannot grip reliably and eventually lifts or cracks. Each base — tile, plaster, concrete or screed — needs its own primer, so choosing the right one is one of the most technical steps in the whole process.
What is fibreglass mesh used for in microcement?
Fibreglass mesh is embedded in the first base coats to spread the substrate's stresses and absorb its small movements. Its job is to stop cracks in the substrate — tile grout lines, joints between materials or hairline cracks — from telegraphing through to the microcement surface. It is especially important on floors and at junctions between walls.
Can you apply microcement yourself?
Product is sold to the public, but microcement is not a reliable DIY job. The finish depends almost entirely on the hand applying it: trowel pressure, drying times between coats, sanding and sealing. A mistake at any of those stages causes blotches, trowel marks or lifting that is hard to fix without redoing the work.
How long does each coat of microcement take to dry?
Each thin coat usually needs around four to six hours to dry before sanding, and up to eight in cooler or more humid conditions. The process cannot be rushed: every coat has to dry before the next, and the sealer needs full curing before heavy use. Pushing these times is one of the most common causes of later failures.
What happens if a step in the application process is skipped?
Skipping a step nearly always shows up as a visible fault weeks or months later. No primer means lifting; no mesh means cracking; coats that are too thick craze; no sealer means staining and premature wear. Each stage of the system has a specific job, which is why a well-applied microcement floor or wall respects them all.

Written by
Esteban Godoy Méndez
Microcement applicator and founder of GM Microcemento
Esteban Godoy is a professional microcement applicator and the founder of GM Microcemento. Since 2020 he has delivered continuous-coating projects in homes and commercial spaces across Málaga and the Costa del Sol.
Meet GM MicrocementoKeep reading
Related articles
 Application
Microcement Drying Times: Can You Live in the House During Installation?
How long microcement takes to dry, how long the job takes, and whether you can keep living at home during installation. An honest, applicator's guide to drying and curing times, room by room.
Esteban Godoy MéndezRead article
 Guides
Does Microcement Crack or Scratch? An Honest Guide to Real Durability
Does microcement crack or scratch? An honest look at its real durability, why problems happen, how long it lasts and how cracks and scratches are repaired.
Esteban Godoy MéndezRead article

Online estimator
Your quote in 4 simple steps
Estimate your microcement online in under 5 minutes. We review it by hand within 48 hours and send you a precise quote, with no obligation.
Fast
4 simple steps, done in 5 minutes.
Reviewed in 48h
A specialist checks it by hand — not an automatic number.
Precise
A quote tailored to your square metres and your finish.
Take the next step
Ready to take the step with microcement?
If this guide has cleared up your doubts, let's take the next step: work out the cost or ask us for a no-obligation quote in Málaga and across the Costa del Sol.