Yes — and it is one of the best pairings you can choose. Microcement is a continuous coating just 2–3 mm thick, applied with no joints over your existing slab, so heat passes through to the surface quickly and spreads evenly across the whole floor. There are no grout lines to leave cold strips, and no thick tile body slowing things down.
Application
Microcement and Underfloor Heating: Compatibility and How It's Done
Microcement and underfloor heating work brilliantly together when the substrate is prepared properly and the heating is commissioned in the right order. Here is exactly how a professional applicator does it, and why it won't crack.
- Esteban Godoy Méndez
- 8 min read
- Category
- Application
- Reading
- 8 min
- Coverage
- Costa del Sol
Section 01
Can you use microcement with underfloor heating?
The compatibility is not in doubt. What decides whether the floor performs for years or hairlines within months is the execution: a dry screed, the right preparation, the heating switched off while we work, and a slow, controlled restart afterwards. Get that sequence right and microcement and underfloor heating behave as if they were designed for each other.
Across the Costa del Sol — Marbella, Estepona, Málaga — most of the open-plan villas and renovated apartments we work in have water-based underfloor heating under the living space. We apply microcement over those systems routinely, so the rest of this guide is the same protocol we follow on site, written plainly.
Why microcement suits underfloor heating so well
- Thin and conductive. At 2–3 mm it adds almost no thermal mass, so the system heats up and cools down quickly and reacts fast to the thermostat.
- Seamless. No joints means no cold lines and no grout to crack as the slab expands and contracts with temperature.
- Flexible. The resins in the mix let the coating absorb the small movements of a heated slab instead of resisting them.
- Low build-up. It barely raises the floor level, so it works beautifully in retrofits where you can't afford to lose head height or re-hang doors.
Section 02
Does microcement crack with underfloor heating?
Applied correctly, no. This is the question everyone asks, and it deserves an honest answer: microcement can crack over underfloor heating, but almost never because of the heating itself. It cracks for the same reasons any thin coating fails — a substrate that moved when it shouldn't have, or thermal stress introduced too quickly.
A heated slab expands when it warms and contracts when it cools. That movement is small, but it is real and it is repeated every day. Three things absorb it safely:
- A fibreglass mesh embedded in the base coats, which reinforces the whole field and bridges the slab's micro-movements.
- The heating switched off during application and through the initial cure, so the slab is dimensionally stable while the coating sets.
- Respecting the slab's own expansion and perimeter joints — microcement does not cancel them out, and they must be carried through the finish where the design requires it.
When a microcement floor over underfloor heating cracks, the post-mortem almost always points to a screed that was still damp, heating that was driven up too fast, or a missing mesh — not to the material being unsuitable. That is exactly why this is a job for a professional applicator and not a weekend DIY product.
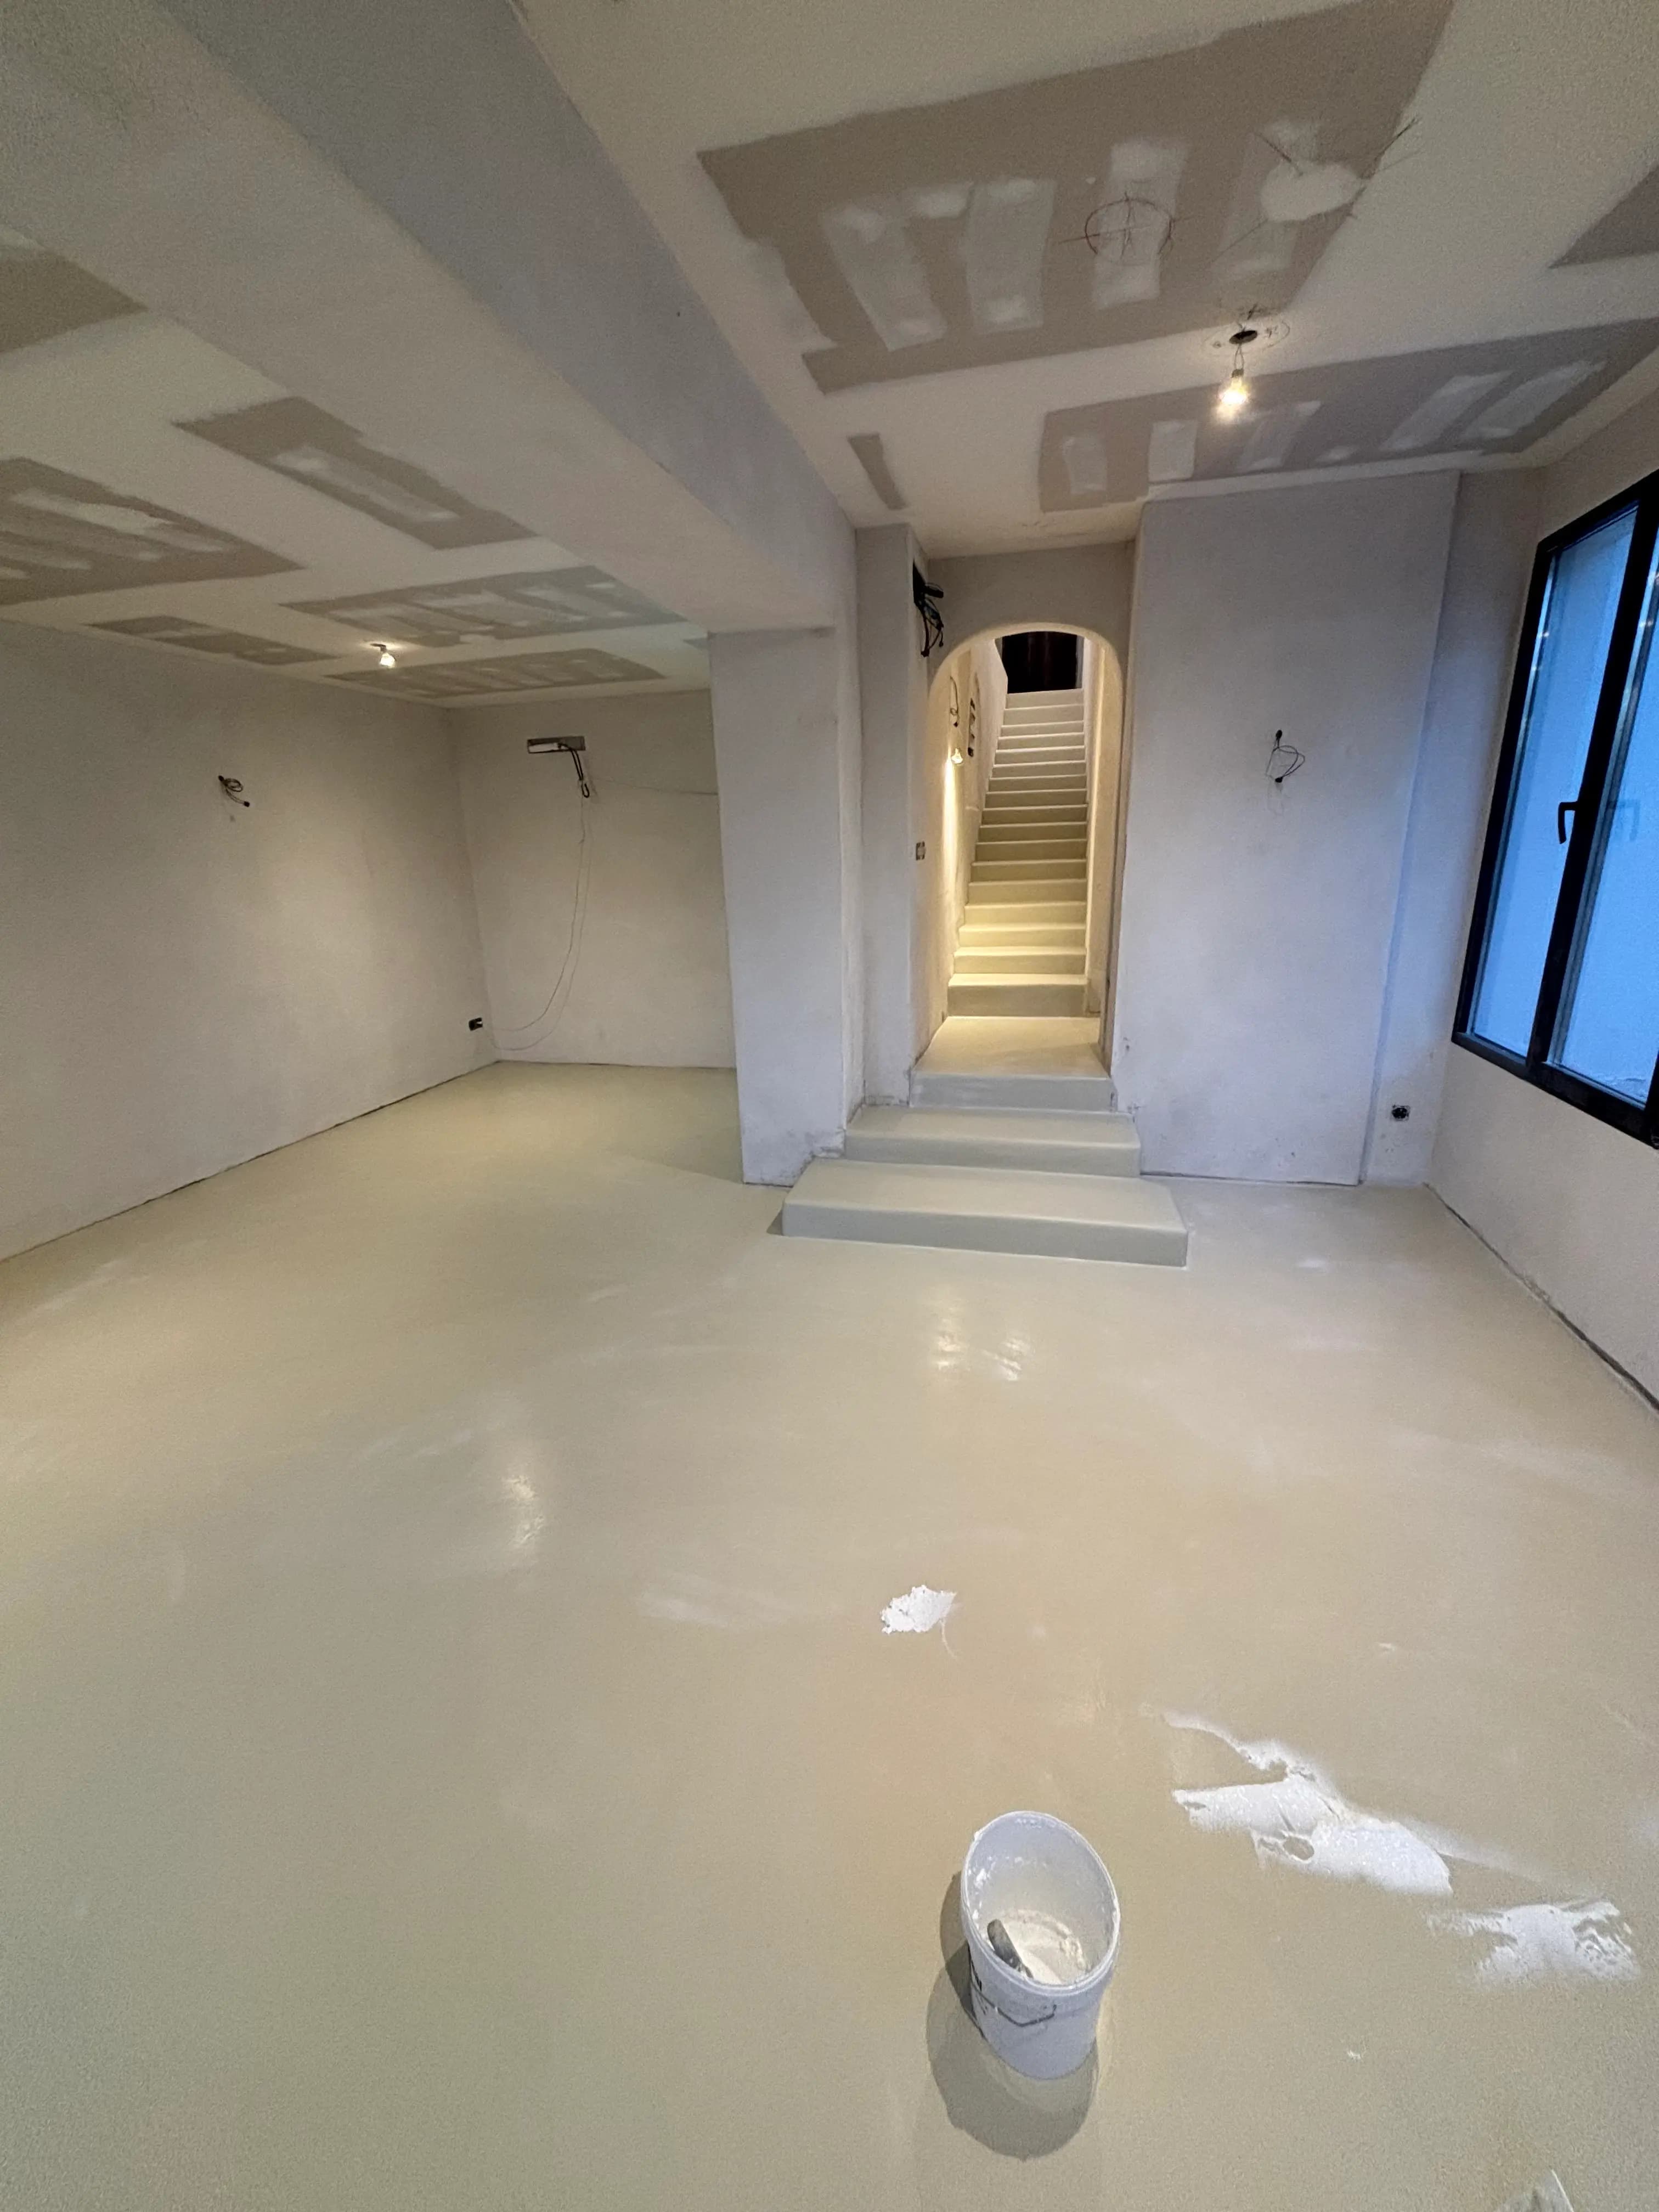
Microcement on site
Section 03
How should the screed be prepared before microcement?
The screed is the foundation of the whole result, so it gets checked before anything else. Two things matter most: it must be dry, and it must be stable.
Dryness comes first. A microcement layer applied over a screed that is still releasing moisture will be pushed from beneath as that water tries to escape, and that is a recipe for blistering and cracking. A standard sand-and-cement screed typically needs several weeks to dry; a thicker or liquid screed can need considerably longer. The rule we work to is simple: we don't go by the calendar, we go by a moisture reading at or below the limit the materials allow. We test it before we start.
Stability comes second. The screed should be sound, level, free of dust and crack-free across the field. Where there are existing structural or expansion joints, they are respected — a heated slab needs them, and trying to coat straight over them is asking for a reflective crack later. Any loose or hollow areas are repaired before a single coat goes down.
The order of work, end to end
This is roughly how a microcement floor over underfloor heating runs from start to finish:
- Screed cured and tested — moisture confirmed within limits before we arrive.
- Commissioning heat cycle (where required) — the new screed is brought up to temperature and back down once, gradually, to settle it, then switched off well before we apply.
- Substrate prep — clean, repair, level, prime with the correct bonding bridge.
- Base coats with fibreglass mesh — two coats, the mesh fully encapsulated.
- Finish coats — two coats, sanded between, to build the colour and texture.
- Sealing — pre-sealer and a hard-wearing top-sealer to close the pores and protect the surface.
- Slow heat-up — only once everything has fully cured.
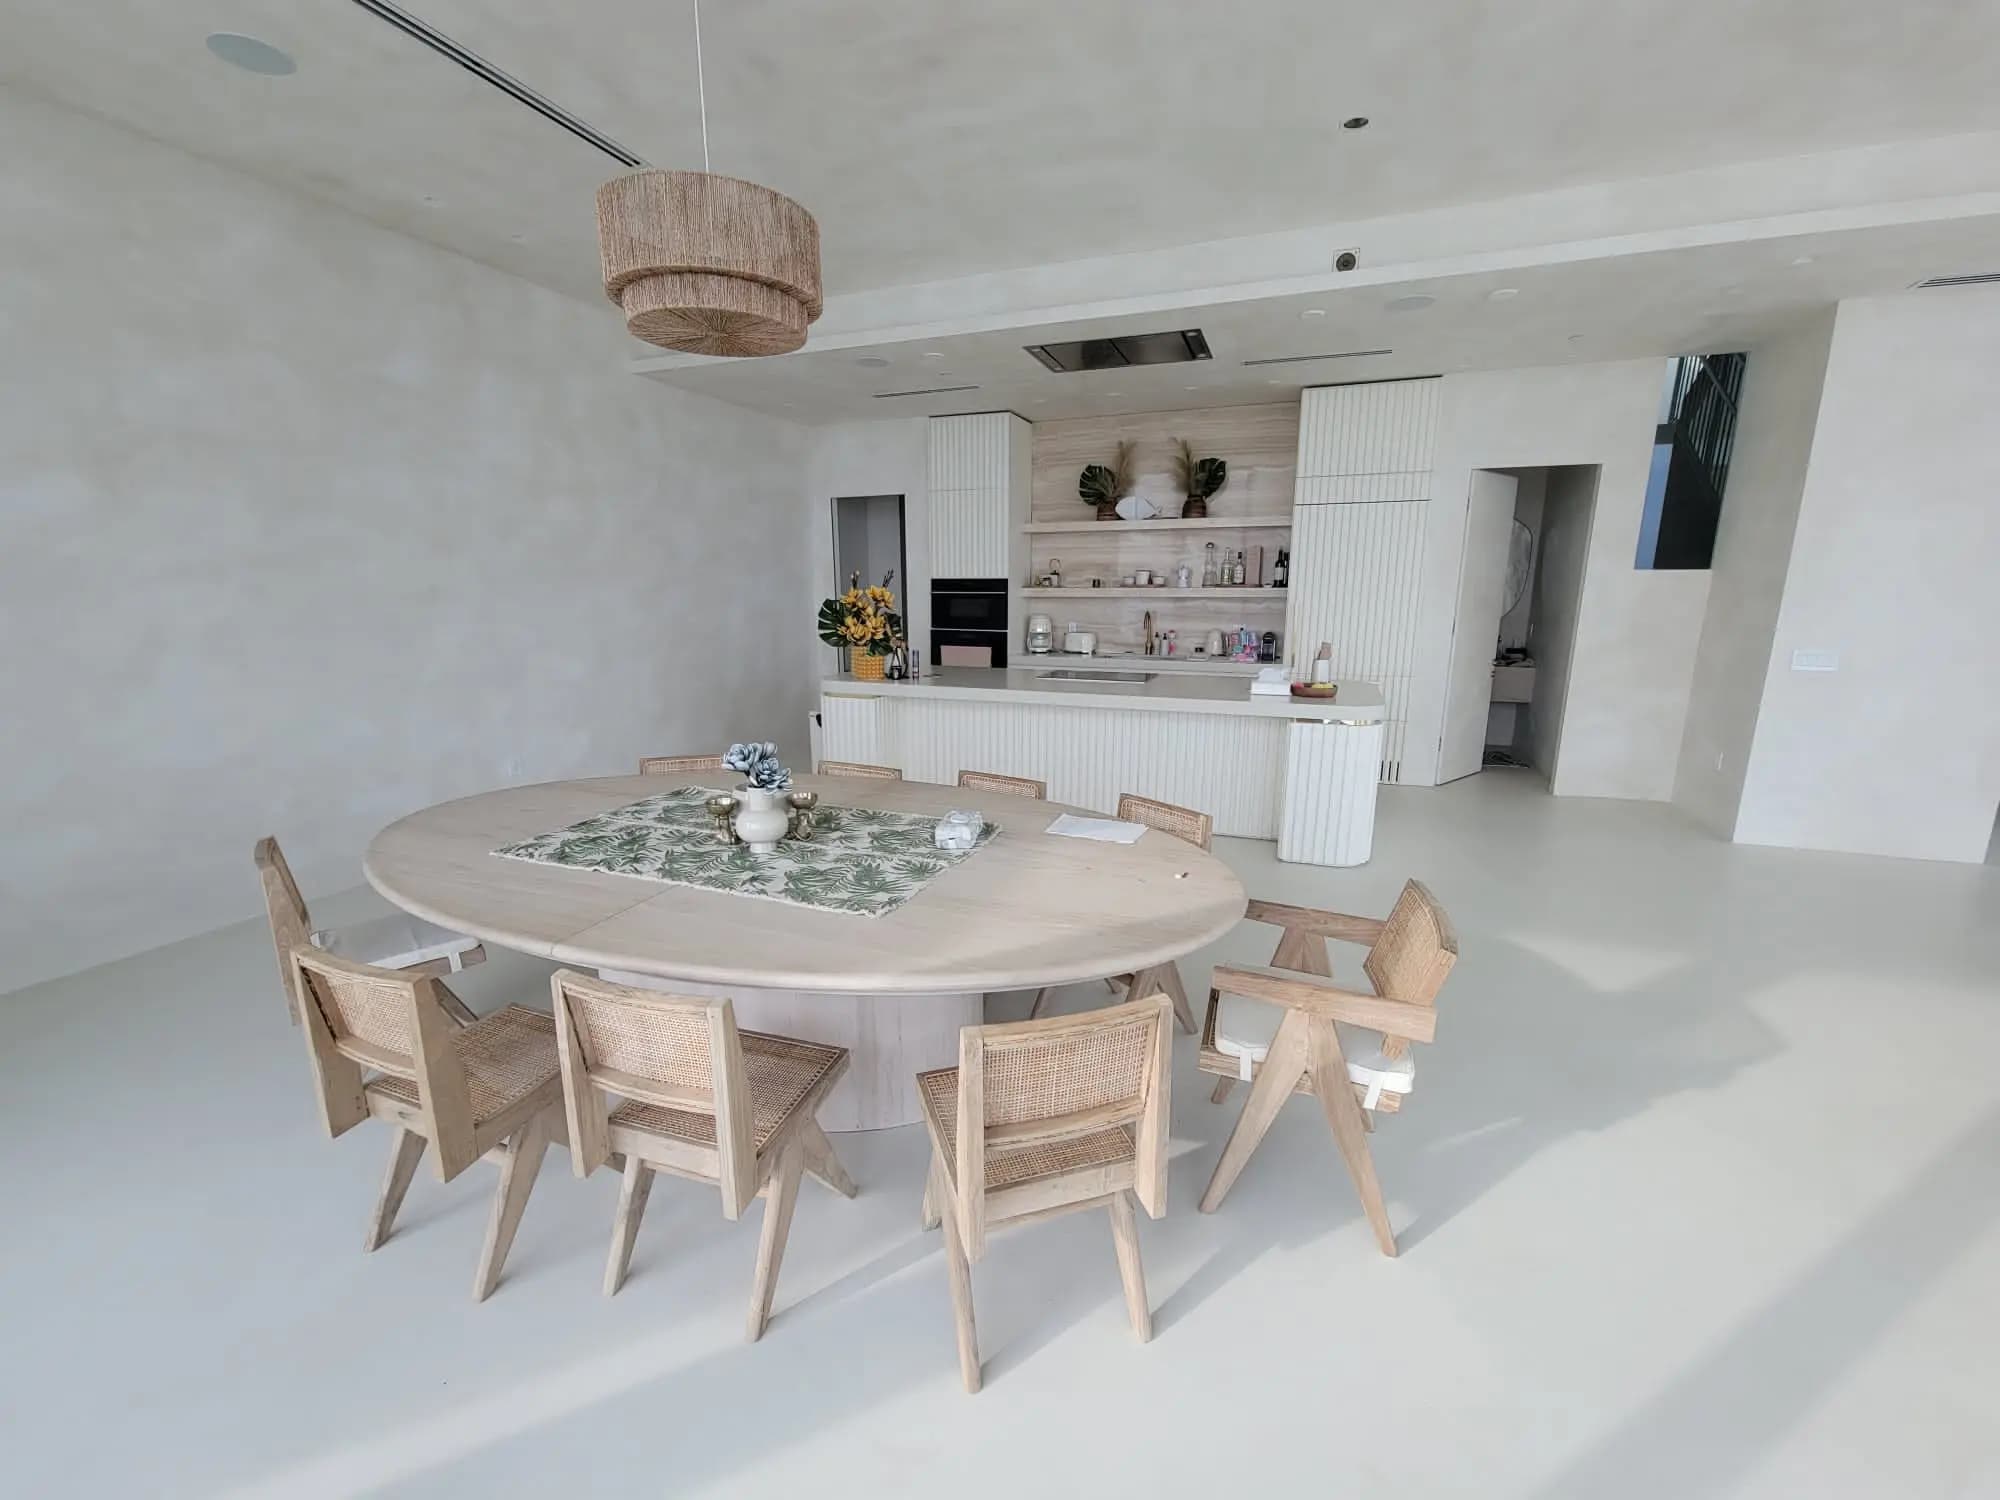
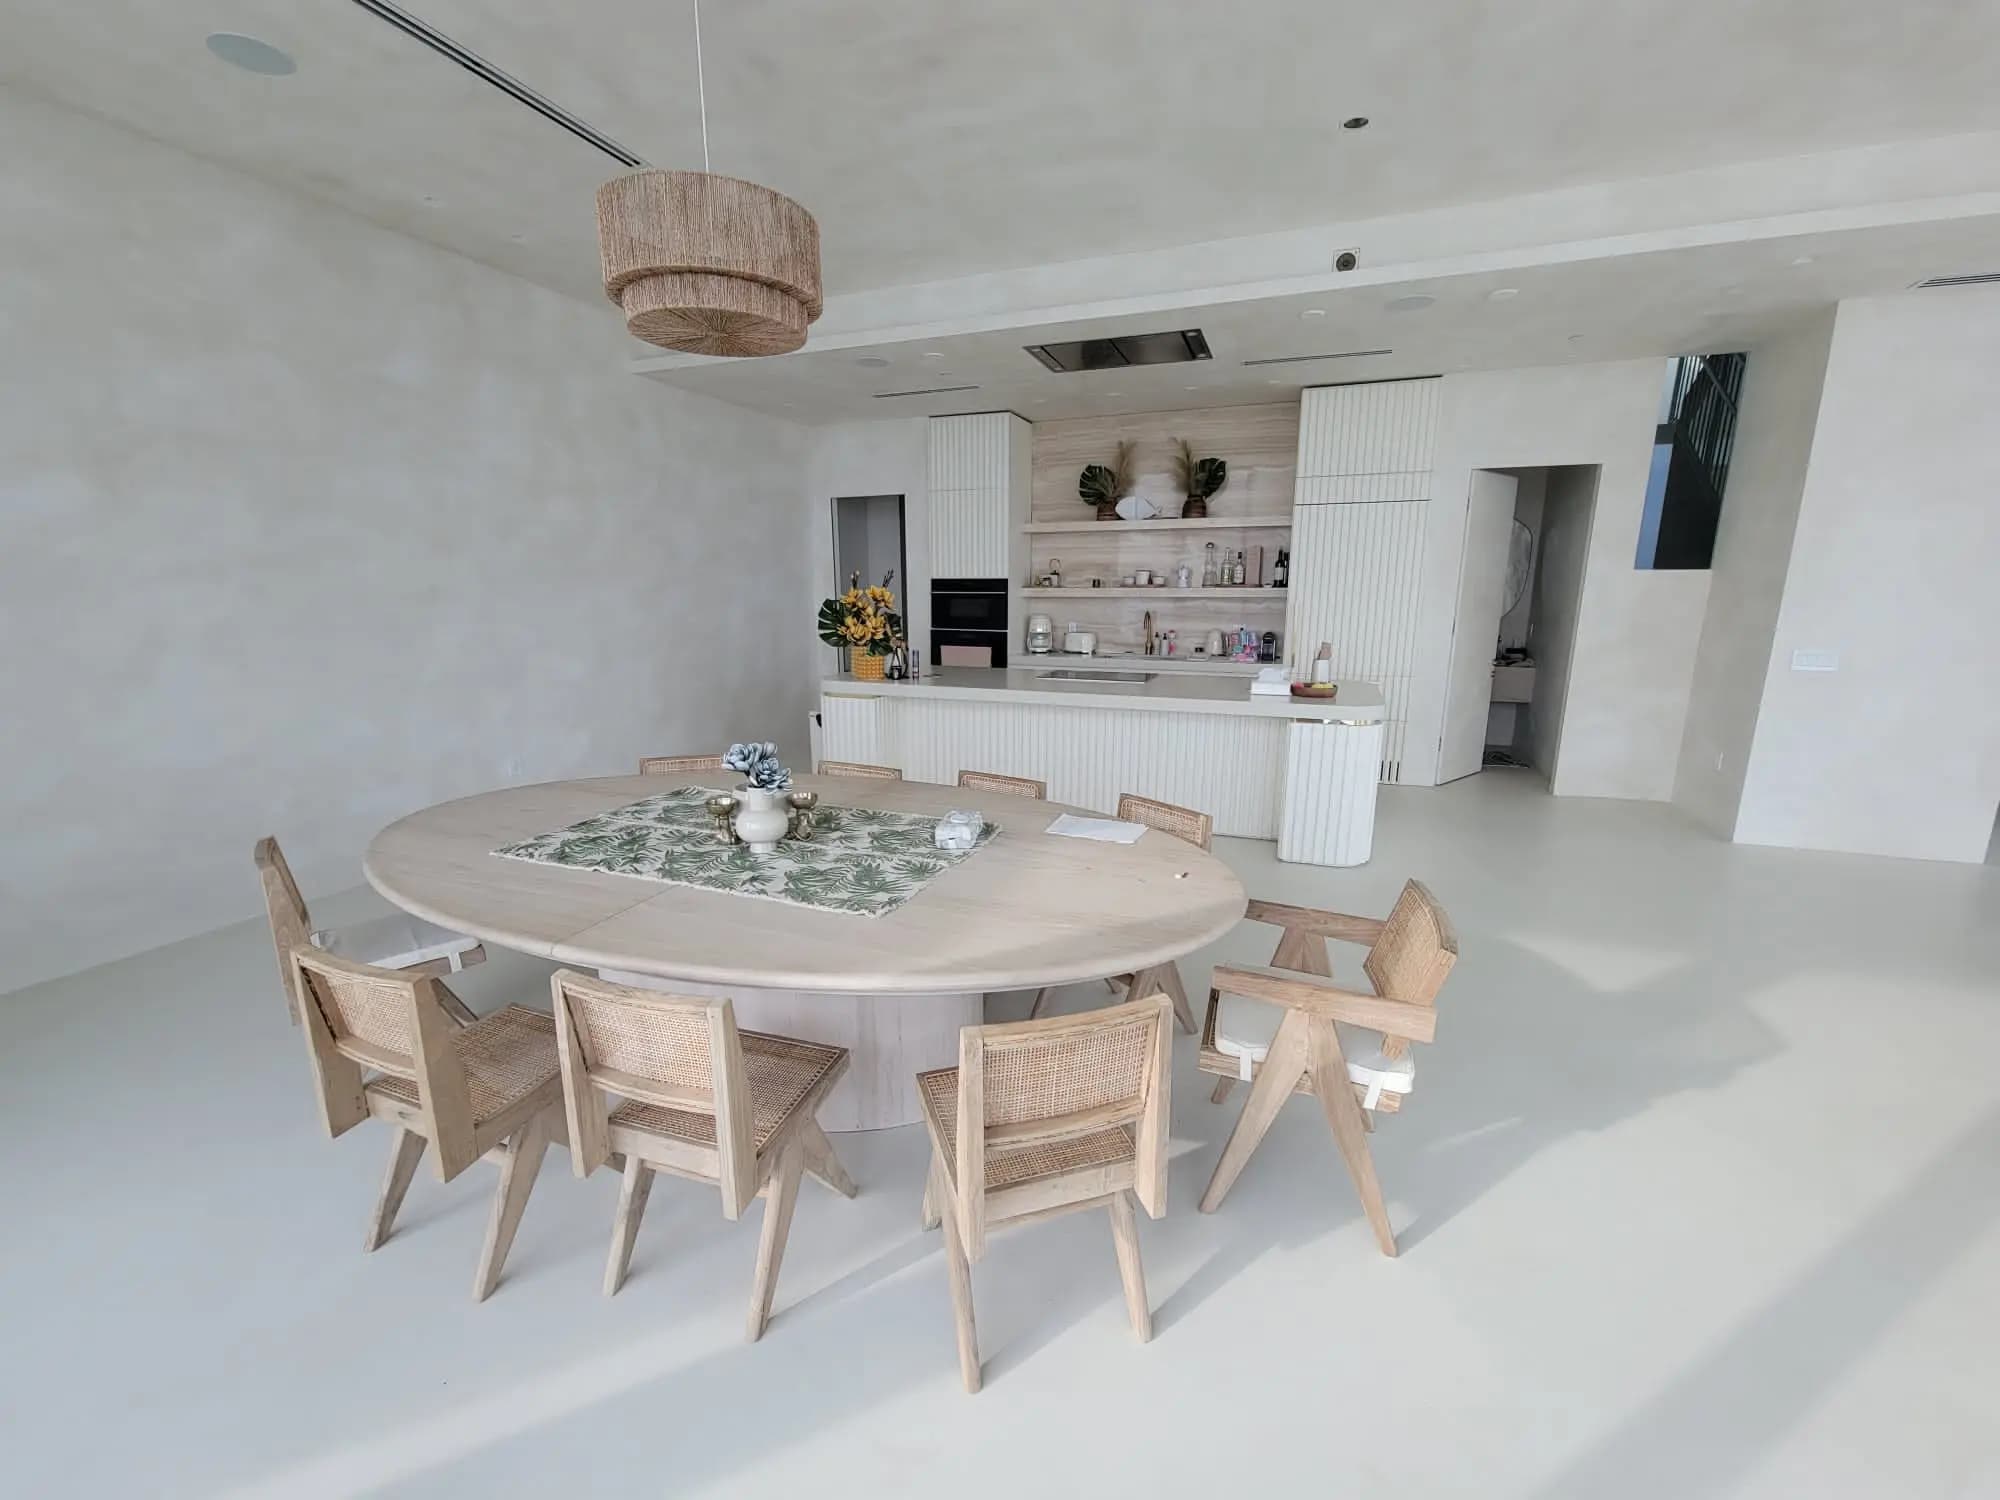
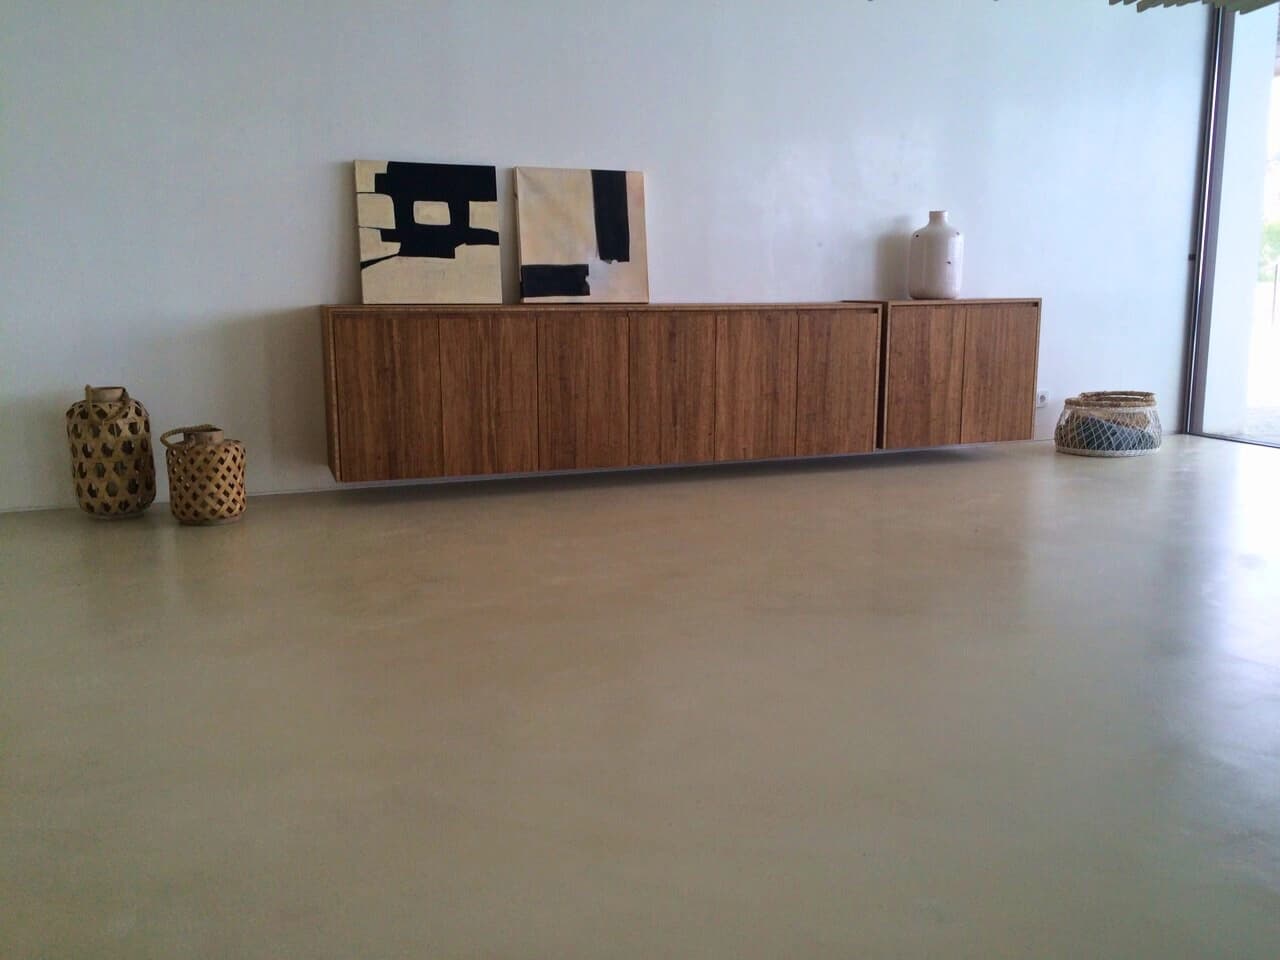
You can see the same continuous, seamless result we build on our microcement floors page.
Section 04
What is the pre-heating protocol before applying microcement?
If the underfloor heating is new, the screed should be commissioned first — brought up to temperature gradually and then back down — to release its initial moisture and let it settle before any coating is bonded to it. This is standard for any quality floor finish over a fresh heated screed, not something specific to microcement.
Then, crucially, the heating goes off. We apply microcement with the system switched off and the slab at a stable, normal room temperature. Applying onto a warm or actively heating slab dries the coating unevenly and locks in stress while it is still green — the opposite of what you want. The slab needs to be still and at rest while the layers set and cure.
So the pre-application protocol is, in short: commission the screed, then turn the heating off, then apply. Cold, stable, dry.
Microcement on site
Section 05
When can you switch the heating back on after application?
Only once the microcement and its sealer are fully cured — never before — and then you bring it up slowly. The floor will feel walkable shortly after the finish goes on, but full curing of the sealer takes longer, and the heating must wait for that.
When the time comes, the golden rule is gradual. You don't go from off to your normal setting overnight. You raise the temperature in small daily steps — a few degrees at a time — over several days until you reach your usual comfort level. This lets the slab and the coating expand together, slowly, instead of being shocked into movement. Rushing the restart is the single most common cause of avoidable hairline cracks in an otherwise perfect floor.
Because the exact timings depend on the build-up, the screed, the sealer and the season, we give every client the specific restart schedule for their floor rather than a one-size-fits-all number — and we would rather you wait a few extra days than risk the finish.
A quick word of honesty
Underfloor heating does ask a little patience of you at two points: waiting for the screed to dry before we start, and ramping the heat back up slowly afterwards. That is the trade-off for a seamless, fast-responding, joint-free floor. Skip either step to save a week and you risk the cracking the material is so often unfairly blamed for. Done properly, you simply won't think about it again.
Section 06
Is microcement more efficient than tiles over underfloor heating?
In day-to-day use, yes. The physics is straightforward: a microcement finish is 2–3 mm thick, while a tiled floor is 8–12 mm of tile plus a bed of adhesive. Less material between the heating pipes and your feet means the floor reaches temperature faster and responds quicker when you turn the thermostat up or down.
| Factor | Microcement | Ceramic / porcelain tile |
|---|---|---|
| Finish thickness | 2–3 mm | 8–12 mm + adhesive bed |
| Joints | Seamless | Grouted joints |
| Heat-up response | Fast | Slower |
| Cold lines across floor | None | Possible along grout |
| Floor level raised | Minimal | More |
Finish thickness
- Microcement
- 2–3 mm
- Ceramic / porcelain tile
- 8–12 mm + adhesive bed
Joints
- Microcement
- Seamless
- Ceramic / porcelain tile
- Grouted joints
Heat-up response
- Microcement
- Fast
- Ceramic / porcelain tile
- Slower
Cold lines across floor
- Microcement
- None
- Ceramic / porcelain tile
- Possible along grout
Floor level raised
- Microcement
- Minimal
- Ceramic / porcelain tile
- More
The seamless surface adds a comfort point too: with no grout lines there are no cooler strips underfoot, so the warmth feels even across the whole room. It is not a dramatic energy saving on its own, but a thinner, jointless floor that heats and cools faster is genuinely easier to live with — and that responsiveness is what most people notice first.
Microcement on site

Section 07
What does a microcement floor with underfloor heating cost?
The cost is driven by the same factors as any microcement floor — the area, the condition of the substrate, the finish you choose and the complexity of the room — rather than by the heating itself. The heating mostly affects the schedule (drying and heat-up time), not the application work. For current, transparent figures by surface, see our microcement pricing page, where you can also request a no-obligation assessment for your project on the Costa del Sol.
Section 08
The bottom line
Microcement and underfloor heating are a strong match: thin, seamless, fast to respond and comfortable underfoot. The compatibility was never the hard part — the discipline is. A properly dried screed, a fibreglass mesh in the base coats, the heating off while we work and a slow, staged restart afterwards are what turn "compatible on paper" into a floor that performs, quietly, for years.
If you are planning a heated floor in a renovation or new build around Málaga, Marbella or Estepona, this is exactly the kind of work we do every week. Tell us about your slab and your heating system and we will walk you through the right sequence for your project.
Frequently asked questions
Common questions
Can you use microcement with underfloor heating?
Yes. Microcement is one of the best floor finishes for underfloor heating. At just 2–3 mm thick it carries heat through to the surface faster than tiles, with no joints to interrupt the warmth. The only conditions are a dry, stable screed and a proper heating-up routine before and after application.
Does microcement crack with underfloor heating?
Not when it is applied correctly. Cracking comes from a screed that wasn't dry enough or heating that was switched on too soon or too hard, not from the microcement itself. With a fibreglass mesh in the base coat, the heating off during application and a gradual restart, a microcement floor moves with the slab instead of fighting it.
When can the heating be turned back on after applying microcement?
Leave the system off until the microcement and sealer are fully cured, then bring the temperature up slowly, in small daily steps of a few degrees, until you reach your normal setting. Rushing this is the single most common cause of hairline cracks. Your applicator will give you the exact restart schedule for your project.
Is microcement more efficient than tiles over underfloor heating?
In practice, yes. A microcement layer is only 2–3 mm thick against 8–12 mm of tile plus adhesive, so the floor reaches temperature quicker and responds faster when you adjust the thermostat. The seamless surface also spreads the heat evenly, with no cold grout lines.
How long after laying the screed can microcement go down?
The screed must be properly dry first — typically a few weeks for a standard sand-and-cement screed, longer for thicker pours. A reading at or below the manufacturer's moisture limit is what matters, not the calendar. We test the screed before starting; applying over a damp slab is the fastest route to problems.

Written by
Esteban Godoy Méndez
Microcement applicator and founder of GM Microcemento
Esteban Godoy is a professional microcement applicator and the founder of GM Microcemento. Since 2020 he has delivered continuous-coating projects in homes and commercial spaces across Málaga and the Costa del Sol.
Meet GM MicrocementoKeep reading
Related articles
 Application
How Microcement Is Applied, Step by Step: Primer, Mesh, Coats and Sealing
The real microcement application process, coat by coat: substrate prep, primer, fibreglass mesh, base and finish coats, sanding and sealing. Explained by a professional applicator on the Costa del Sol.
Esteban Godoy MéndezRead article
 Application
Microcement Drying Times: Can You Live in the House During Installation?
How long microcement takes to dry, how long the job takes, and whether you can keep living at home during installation. An honest, applicator's guide to drying and curing times, room by room.
Esteban Godoy MéndezRead article

Online estimator
Your quote in 4 simple steps
Estimate your microcement online in under 5 minutes. We review it by hand within 48 hours and send you a precise quote, with no obligation.
Fast
4 simple steps, done in 5 minutes.
Reviewed in 48h
A specialist checks it by hand — not an automatic number.
Precise
A quote tailored to your square metres and your finish.
Take the next step
Ready to take the step with microcement?
If this guide has cleared up your doubts, let's take the next step: work out the cost or ask us for a no-obligation quote in Málaga and across the Costa del Sol.