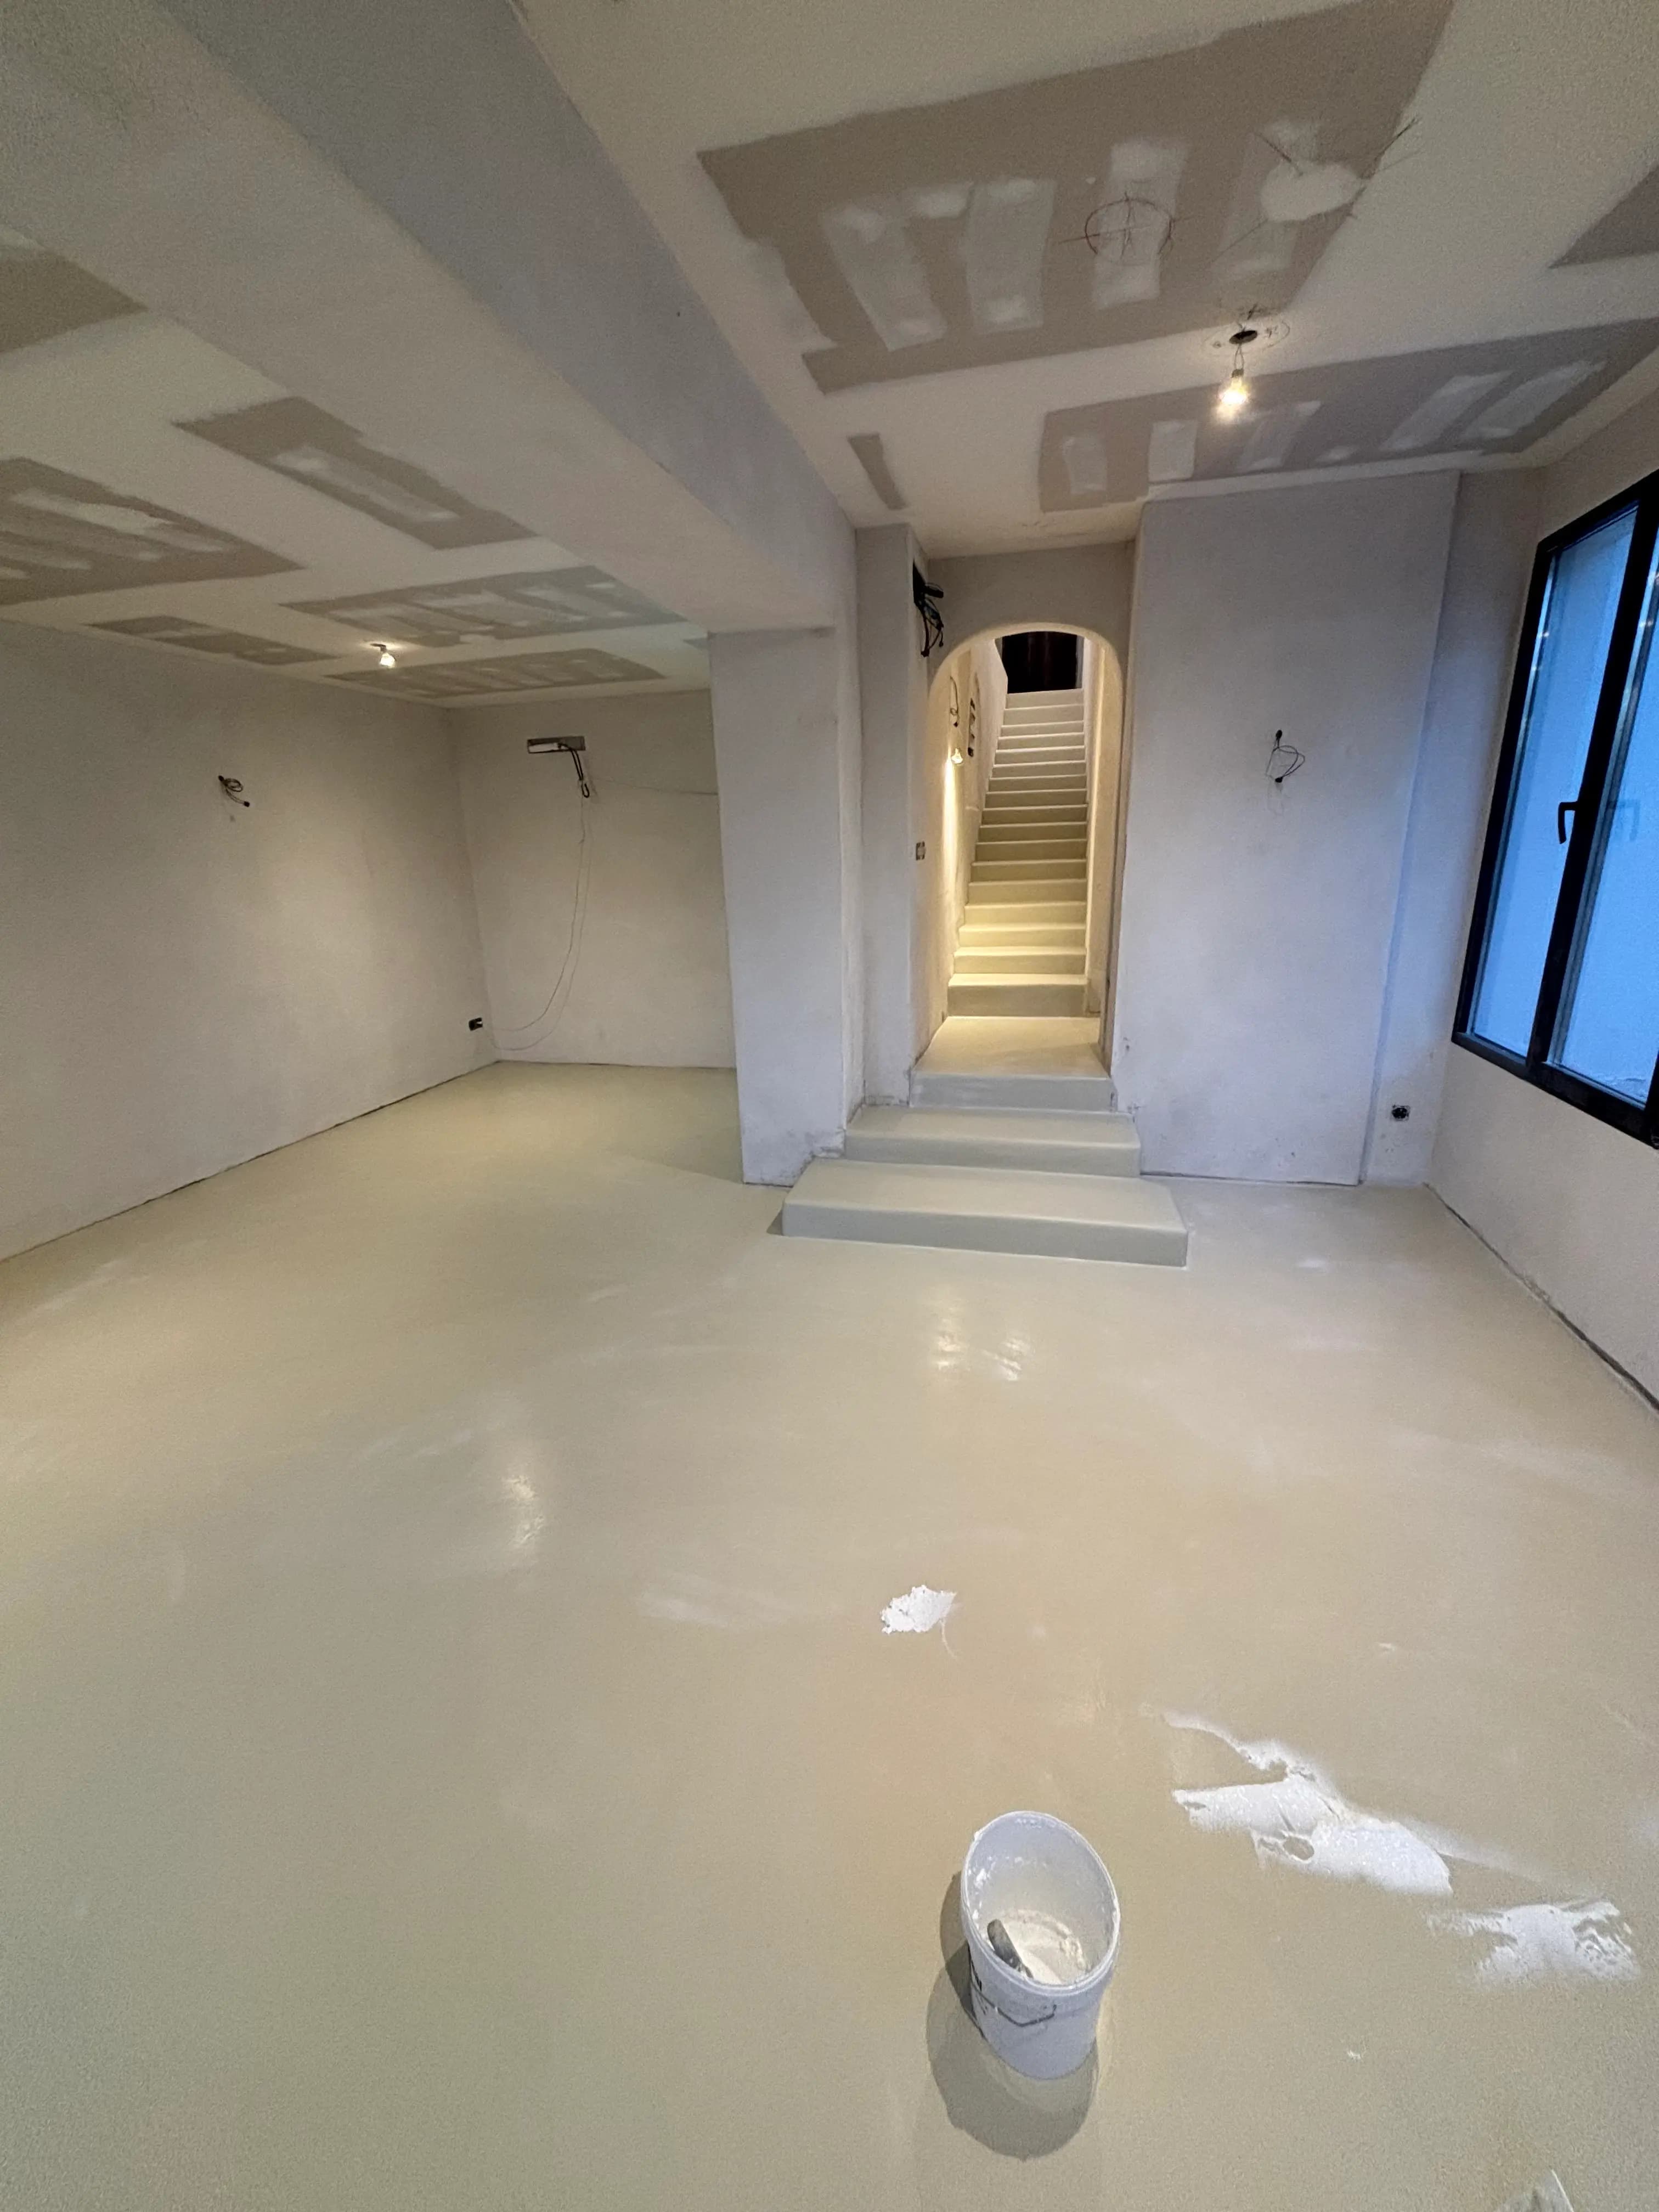
Yes. Microcement is applied straight over existing tiles without removing them, as long as the ceramic is sound and firmly fixed to the substrate. The tiles are cleaned, degreased and primed with a bonding bridge, the grout lines are filled, and on that base the microcement coats build a brand-new, seamless surface. It is the most sought-after no-building-work renovation there is: no chiselling, no rubble, no skip hire, and the home liveable again within days.
Application
Microcement Over Tiles: Renovate a Bathroom, Kitchen or Floor Without Removing Them
Yes, you can apply microcement over tiles without taking them off. Here is how the ceramic is prepared, which rooms it suits best, and when it is wiser to strip out instead.
- Esteban Godoy Méndez
- 9 min read
- Category
- Application
- Reading
- 9 min
- Coverage
- Costa del Sol
Section 01
Can you apply microcement over tiles?
I have been refurbishing bathrooms, kitchens and floors across the Costa del Sol since 2020, and this is by far the question I get asked most. The good news is that the answer is almost always yes. The part that matters is why it works: it is not a trick, it is the resins in the material.
Microcement is a continuous coating, 2 to 3 mm thick, made from cement, resins, fine aggregates and pigments. Those resins give it grip and a degree of flex. They are what let it key onto a tile without lifting and absorb the small movements of the substrate without cracking. A tile is usually a stable, flat base, too: if it is well stuck down, it is an excellent surface to coat over.
Section 02
Is microcement better than retiling?
For most homeowners weighing up a tired bathroom or kitchen, microcement over tiles wins on disruption and on the finished look — but it is not the right answer for every situation, so let me be straight about both.
Where it beats a strip-out and retile:
- No demolition. Nothing is hacked off the wall, so there is no rubble, no dust sheeting the whole flat and no skip on the drive.
- Far less time on site. You skip the slowest, messiest stages of a traditional job entirely.
- A seamless surface. No grout lines means nowhere for mould and grime to collect, and a calmer, more spacious feel.
- Barely any build-up. At 2 to 3 mm it rarely fouls doors, skirting or the threshold the way a second layer of tile would.
Where retiling (or a full strip-out) is the better call: when the tiles are failing, when there is unresolved damp, or when the substrate underneath is moving. More on that below — it is the honest part of the job that the sales pages tend to skip.
Section 03
Which tiles can microcement be applied over?
You can coat almost any firm ceramic: glazed wall tile, porcelain, stoneware, terracotta and encaustic (hydraulic) tiles. The deciding factor is never the type of tile, it is its condition — that it is well bonded, level and free of damp.
What does change from one tile to the next is the preparation:
- Glazed or polished tile (very smooth): needs a specific adhesion-promoting primer, because microcement will not key onto a shiny, untreated surface.
- Porcelain and stoneware: very stable bases; degreased thoroughly and, if polished, primed exactly like a glazed tile.
- Encaustic or terracotta: firmly fixed and grippy, but sometimes more porous or uneven, so they may need a levelling coat first.
- Profiled or deep-grouted tile: needs the joints properly filled and, in many cases, a fibreglass mesh so the pattern does not ghost through.
What if the tiles are heavily textured?
The more relief or the deeper the grout joint, the more levelling work is needed up front. That is not a problem, just an extra step: the surface is faired in with a base coat before the fine finish coats begin. Skipping it to save a morning is exactly what makes the old tile pattern reappear under the finish a few months later.
Microcement on site
Section 04
Do the tiles need to be removed or repaired first?
The substrate prep is 80% of the result. Microcement over tiles either lasts for years or fails early depending entirely on how this stage is done. This is the sequence we follow on every project:
- Sound the substrate. We tap the tiles to find any that are loose (they ring hollow) and check for damp or live cracks.
- Clean and degrease. Especially in kitchens and bathrooms, where grease and soap residue kill adhesion.
- Repair. Loose tiles are re-fixed or replaced and any defects are made good.
- Bonding bridge. The adhesion-promoting primer between the glazed ceramic and the microcement; non-negotiable over shiny tile.
- Fill the joints and level. Grout lines are filled flush so they cannot read through, with fibreglass mesh at the critical points.
From there, the base coats, finish coats and final sealing go on. The tiles only need to come off if they are not sound — a loose, hollow or damp-affected area must be repaired or, in the worst cases, stripped out before anything is coated over it.
Section 05
How thick is microcement applied over tiles?
It is applied at a total thickness of just 2 to 3 mm, spread over several thin coats — so it adds barely any height on top of the existing tile.
That low build matters more than people expect. On a floor it means doors and skirting rarely need trimming, and the threshold into the next room usually stays put. On a wall it means a shower niche, a window reveal or a worktop upstand keeps its proportions instead of looking bulked out. And because the layer is so thin and light, it adds very little load — useful when you are refreshing an upper-floor flat or a terrace where you do not want to overload the structure.
It is worth saying what this thinness does not do: it does not bridge a bad base. A 2–3 mm coating cannot hide a tile that is lifting or a substrate that moves. The thinness is an advantage on a sound base and a liability on a poor one, which is why the prep comes first.
Microcement on site

Section 06
Which rooms work best — bathroom, kitchen or floor?
It works in all three, but each room has its own nuances. After hundreds of refurbishments, this is how microcement over tiles performs in each case:
| Room | Why it fits so well | What to bear in mind |
|---|---|---|
| Bathroom | Removes the grout lines where mould and grime collect; seamless across walls, floor and shower | Needs the wet zone tanking and a polyurethane sealer rated for water |
| Kitchen | Refreshes the splashback, walls and floor without ripping out units or appliances | The splashback and worktop see hard use: quality sealing and upkeep matter |
| Floor | Adds only 2–3 mm, so doors and skirting rarely need touching | The substrate must be firm; loose tiles are re-fixed first |
Bathroom
- Why it fits so well
- Removes the grout lines where mould and grime collect; seamless across walls, floor and shower
- What to bear in mind
- Needs the wet zone tanking and a polyurethane sealer rated for water
Kitchen
- Why it fits so well
- Refreshes the splashback, walls and floor without ripping out units or appliances
- What to bear in mind
- The splashback and worktop see hard use: quality sealing and upkeep matter
Floor
- Why it fits so well
- Adds only 2–3 mm, so doors and skirting rarely need touching
- What to bear in mind
- The substrate must be firm; loose tiles are re-fixed first
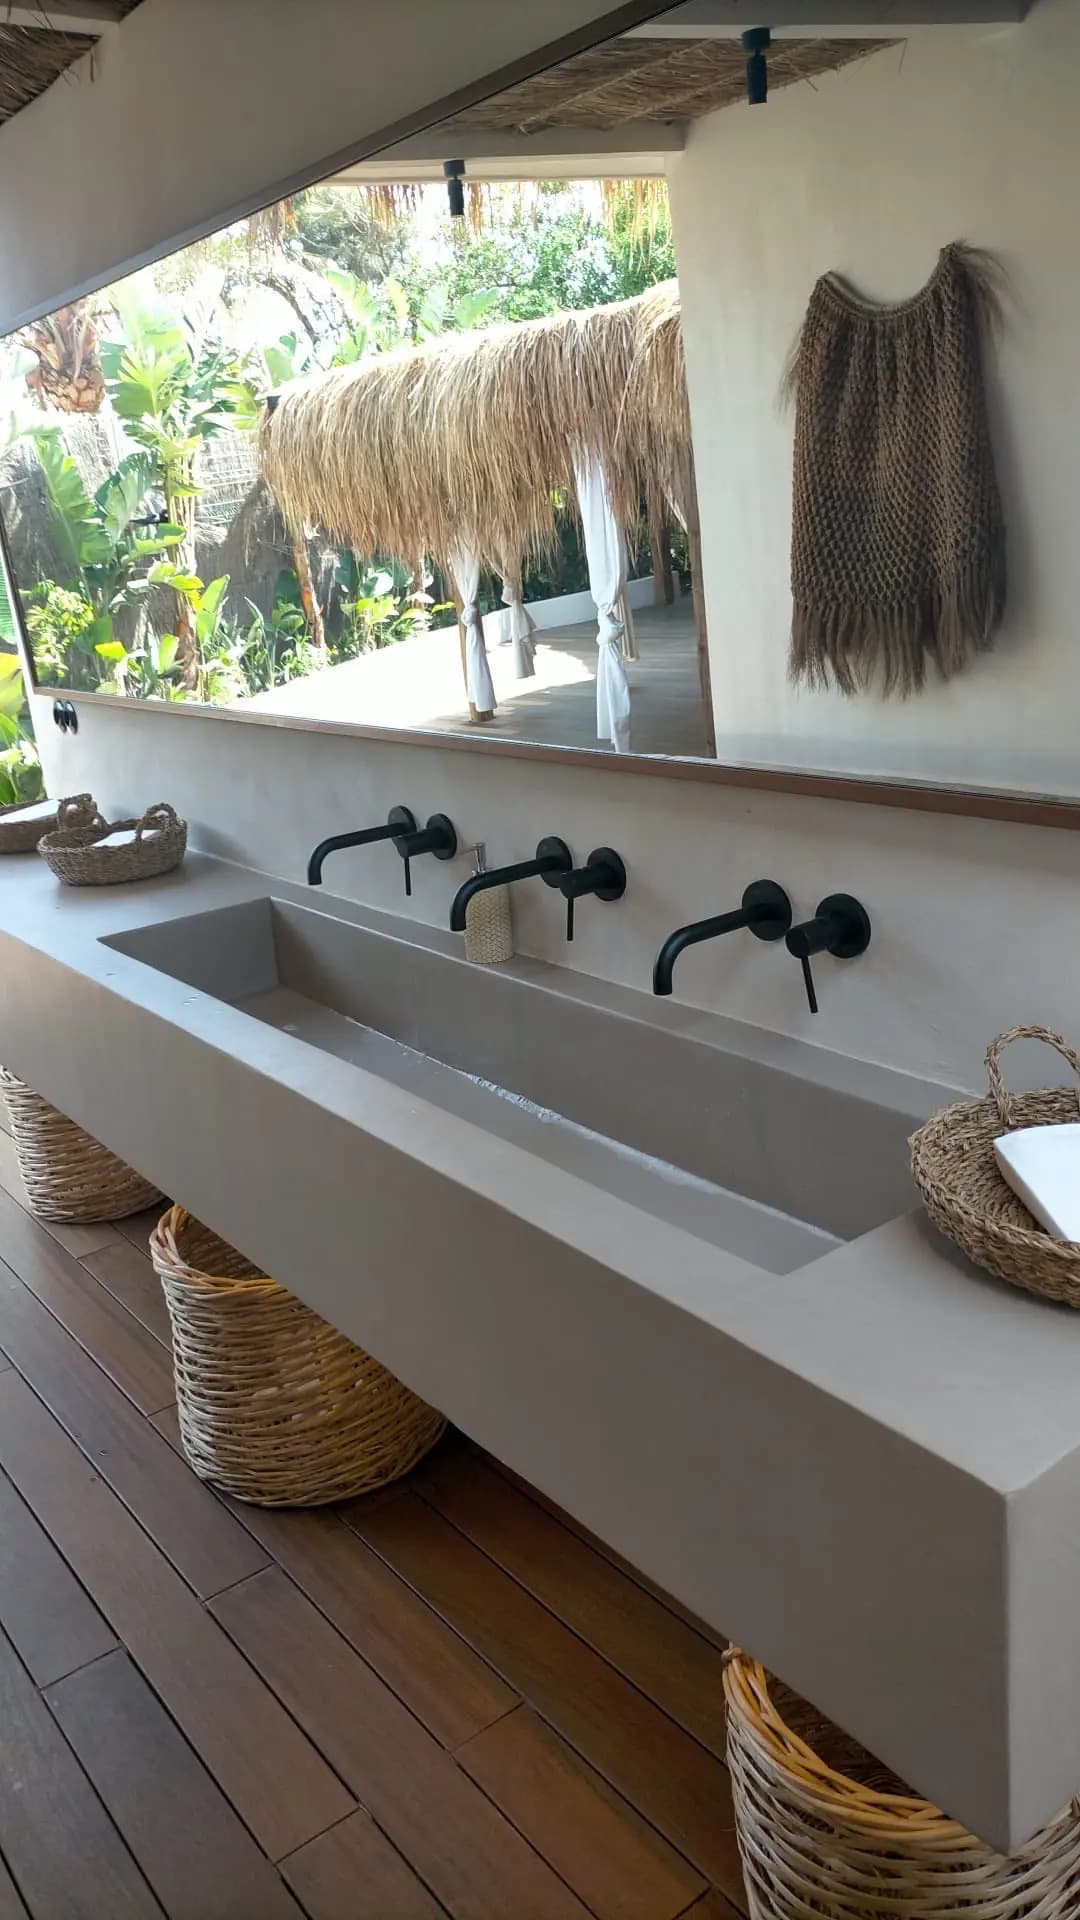
In a bathroom, coating the tiles with microcement is probably the best disruption-to-result ratio in renovation: within a few days you go from a grouted, tiled wet room to a continuous, hygienic surface. A level-access shower with no tray and no joints looks especially clean. You can see examples on our microcement bathrooms page.
In a kitchen, the big win is refreshing the splashback and walls without unbolting the wall units or pulling the kitchen out. We cover it in detail on microcement kitchens, worktops and all.
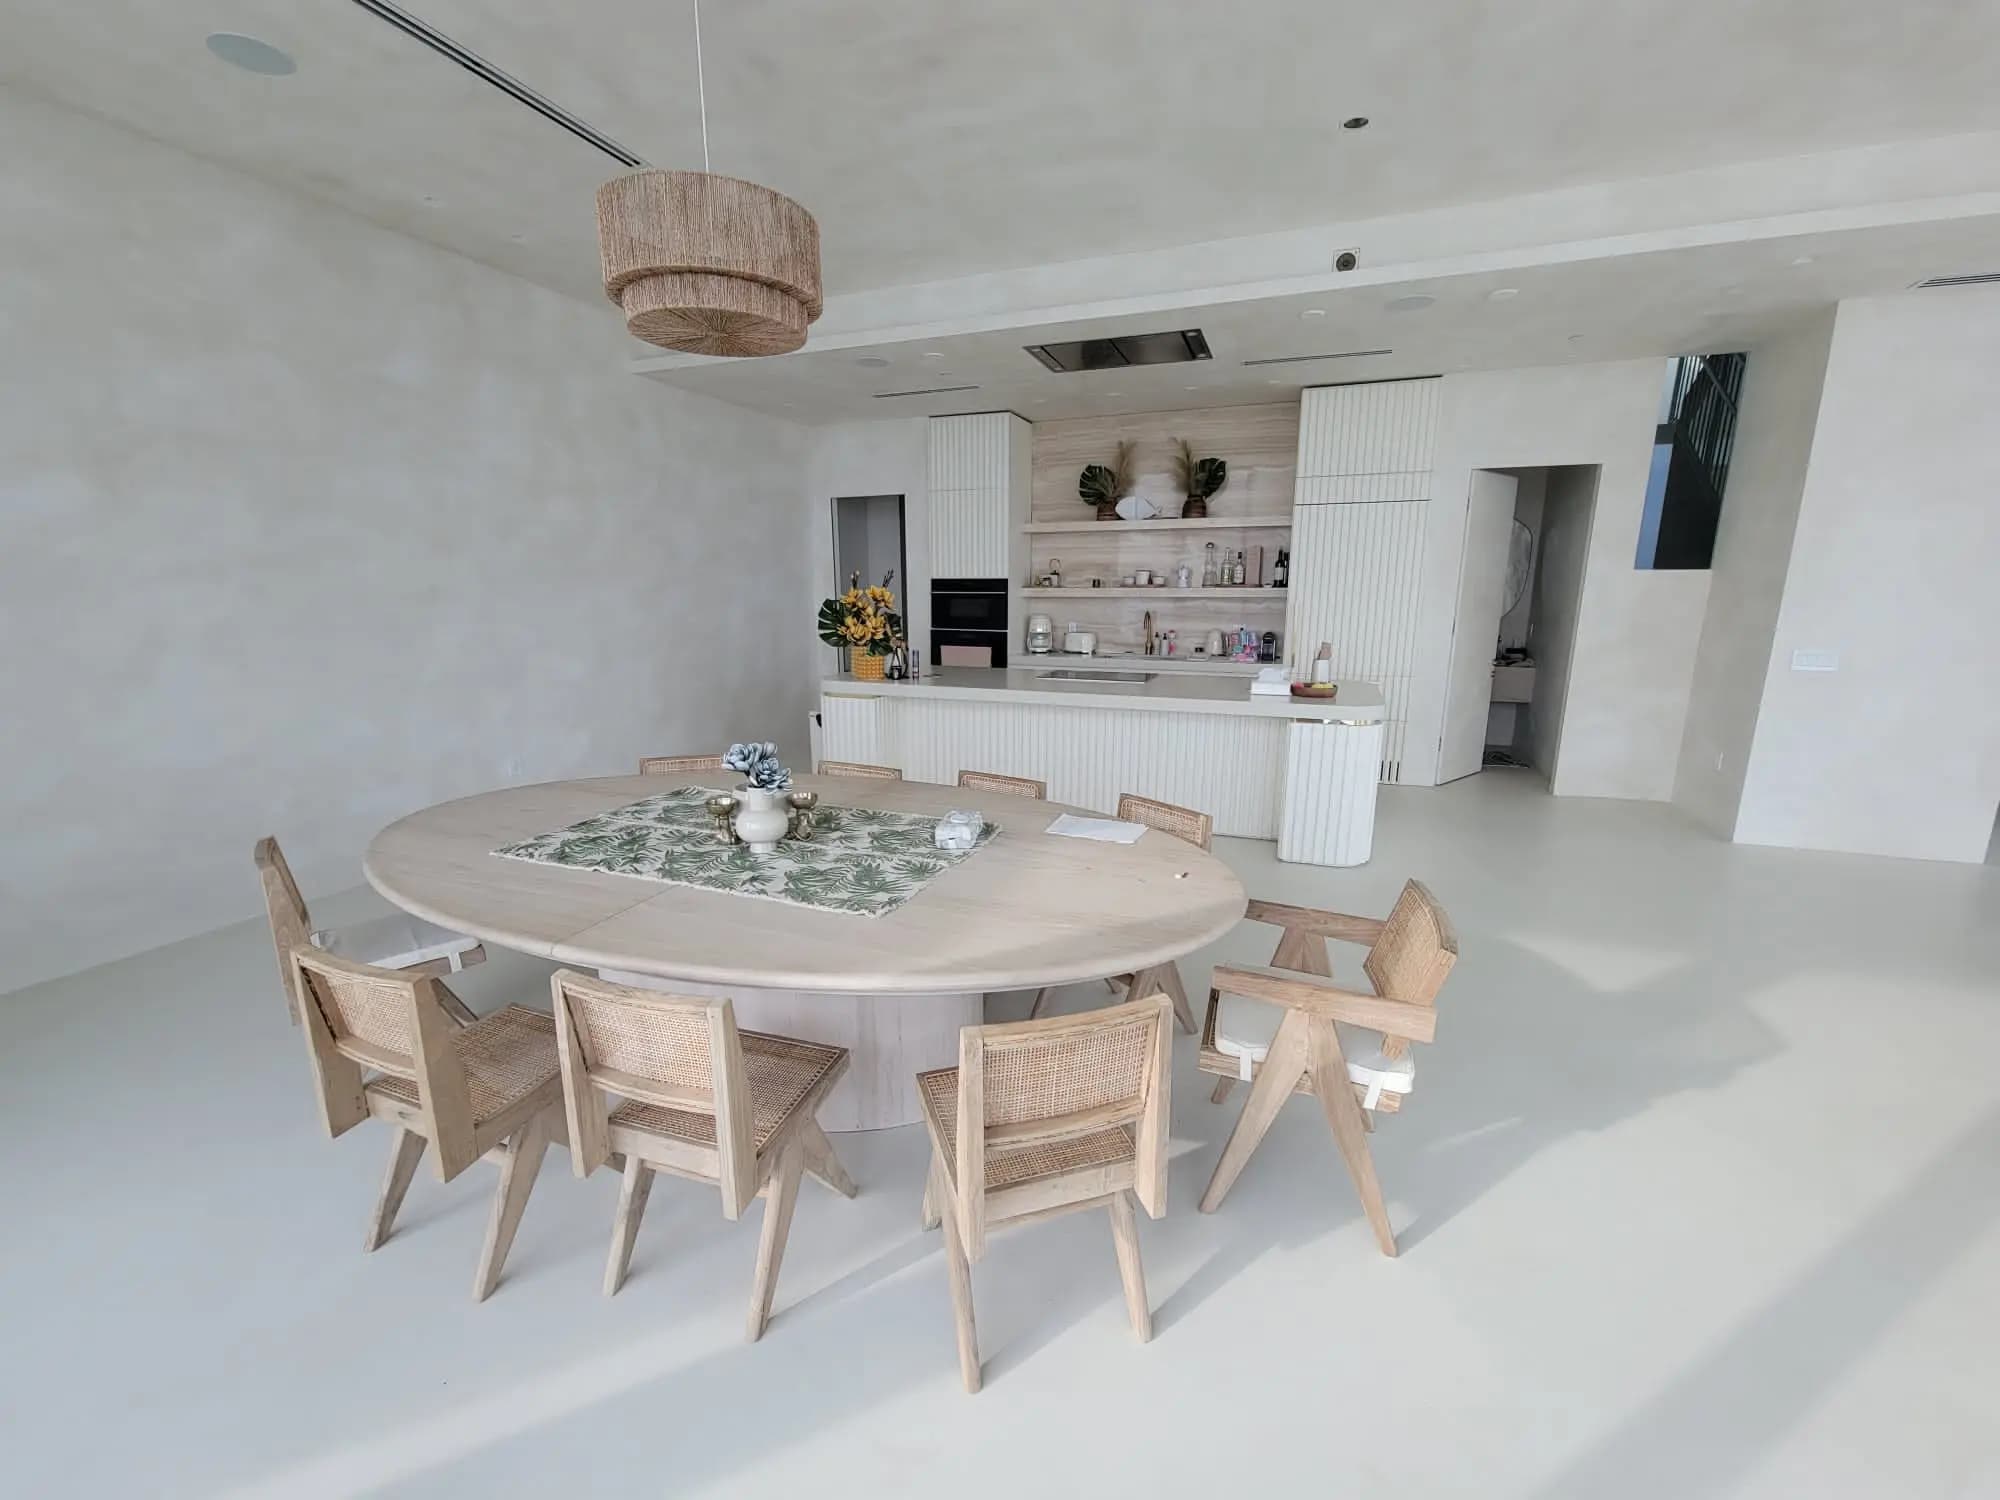
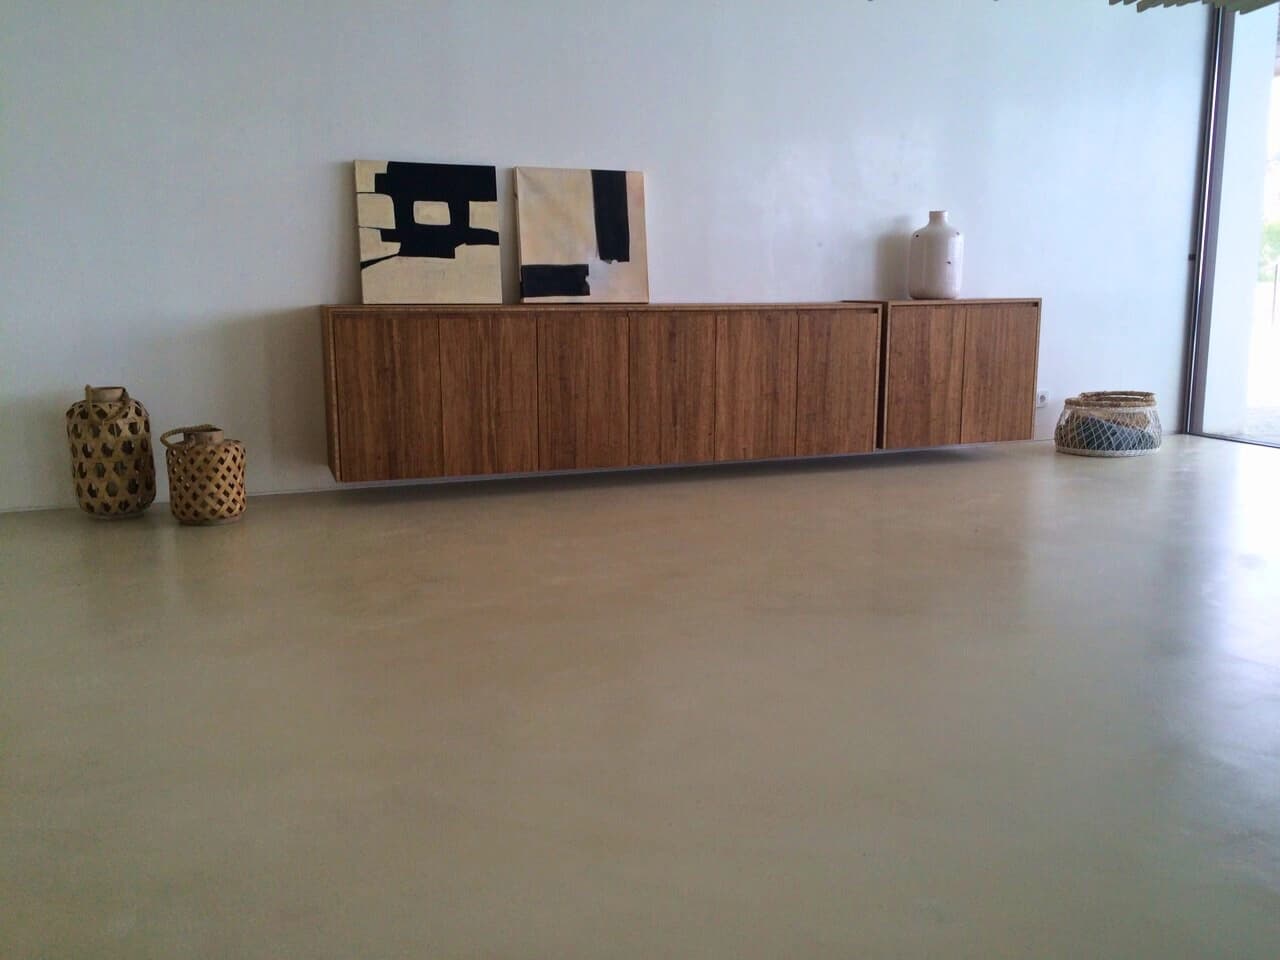
And on floors, the headline argument is the build height: rising only 2–3 mm over the old tile, you almost never have to touch doors or skirting. More on that on our microcement floors page, including how it pairs with underfloor heating.
Section 07
How much does it cost to microcement over tiles?
The real saving is not so much the price per square metre of the material as everything you avoid. A traditional strip-out-and-retile job stacks up costs that microcement over tiles wipes out in one go:
- Demolition of the old wall or floor tiling.
- Waste removal — skip hire, haulage and tip fees.
- Re-screeding and levelling the floor after it has been hacked up.
- New materials and labour (tiles, adhesive, grouting).
- Extra days on site, with the dust and the unusable room that come with them.
Because it goes over what already exists, microcement skips nearly all of those. On top of that comes a saving that is hard to put on an invoice but very real: you do not have to clear the room out or move out of the house during a demolition. For an estimate matched to your own property, the best route is our pricing page or a quote — every surface is assessed once we have seen its actual condition.
Microcement on site
Section 08
When is it better NOT to apply microcement over tiles?
Being honest is part of doing this job well, so here is the other side. There are situations where coating over the tile is a mistake, and I would rather tell you before than fix it after. Microcement copies the behaviour of the substrate: if the base fails, the coating fails with it.
Do not apply straight over the tiles when there is:
- Loose tile that rings hollow. It has to be re-fixed or removed first; if half a wall is drumming, it can be worth stripping out.
- Rising damp or unresolved leaks. Microcement is not a fix for a structural water problem — you tackle the source of the damp first.
- A moving substrate or live cracks. If the crack is still active, it will eventually telegraph through to the surface.
- Badly out-of-level surfaces. If the floor or wall is well out of plane, it needs serious levelling or a rethink of the base.
In those cases, the professional move is to repair first and, where there is no sensible repair, to recommend stripping out. Coating over a sick substrate only pushes the problem a few months down the line.
Section 09
In short: the no-building-work method, done right
Microcement over tiles is the most efficient way to renovate a bathroom, a kitchen or a floor without turning the home into a building site. It works because the resins in the material grip onto sound ceramic, and the result depends almost entirely on the substrate preparation: clean tiles, the right primer, filled joints and, where it counts, a fibreglass mesh.
Done with care, you get a continuous, hygienic, design-led surface in a matter of days. Done in a rush, the joints ghost through and the problems start. So more than the product, what you are really hiring is the hand that applies it. If you are weighing up covering your tiles in Málaga or on the Costa del Sol, we assess your project with no obligation and tell you frankly whether your substrate is ready to coat over or needs a step first.
Frequently asked questions
Common questions
Can you apply microcement over tiles without removing them?
Yes. Microcement bonds directly over tiles or ceramic without lifting them, as long as the tiles are sound and firmly fixed to the substrate. The surface is cleaned, degreased, primed with a bonding bridge and the grout lines are filled before the coats go on. That is the whole point of a no-building-work renovation: no chiselling, no rubble, no skip hire and the home liveable within days.
Will the grout lines show through the microcement?
Not if the prep is done properly. The grout lines are filled and levelled with a base coat, and on heavily profiled tiles or deep joints a fibreglass mesh is embedded before the finish coats. Skipping that step is the single most common reason a tile pattern starts ghosting through months later.
Which tiles can microcement be applied over?
Over ceramic wall tile, porcelain, stoneware and even encaustic tiles, provided they are firmly bonded and free of damp. The deciding factor is not the type of tile but that it is stuck down hard. A glazed or polished surface needs a specific adhesion-promoting primer so the microcement can key on properly.
How much does it cost to microcement over tiles?
The real saving comes from everything you avoid: demolition, skip hire, screeding the floor back up, fresh tiling and the extra days on site. Because it goes over what already exists, microcement removes several line items from a conventional refurbishment. For a figure tailored to your room, see our pricing page or ask for a quote.
How long does microcement over tiles last?
Applied correctly and resealed when needed, a microcement surface over tiles holds up for many years. Its lifespan depends almost entirely on the substrate and the applicator: a sound, well-bonded tile base plus proper priming, mesh and sealing gives you a hard-wearing, seamless finish. A neglected sealer or a moving substrate is what shortens it.
When is it better NOT to apply microcement over tiles?
When tiles are loose and sound hollow, when there is rising damp or an unresolved leak, or when the substrate moves or has live cracks. Microcement copies the behaviour of whatever is underneath: if the base fails, the coating fails with it. In those cases you repair first, or sometimes strip out and start again.

Written by
Esteban Godoy Méndez
Microcement applicator and founder of GM Microcemento
Esteban Godoy is a professional microcement applicator and the founder of GM Microcemento. Since 2020 he has delivered continuous-coating projects in homes and commercial spaces across Málaga and the Costa del Sol.
Meet GM MicrocementoKeep reading
Related articles
 Guides
Microcement vs Porcelain Tiles vs Epoxy Resin: Which Surface Should You Choose?
Microcement, porcelain or epoxy resin? We compare the three head to head — look, joints, thickness, durability, maintenance and cost — so you can pick the right surface for your home or project.
Esteban Godoy MéndezRead article
 Guides
How to Clean and Maintain Microcement: Daily Care, Products and Resealing
A simple, honest guide to cleaning and maintaining microcement: the daily routine, which pH-neutral products to use, what to avoid, and how often to reseal so floors and walls keep their finish for years.
Esteban Godoy MéndezRead article

Online estimator
Your quote in 4 simple steps
Estimate your microcement online in under 5 minutes. We review it by hand within 48 hours and send you a precise quote, with no obligation.
Fast
4 simple steps, done in 5 minutes.
Reviewed in 48h
A specialist checks it by hand — not an automatic number.
Precise
A quote tailored to your square metres and your finish.
Take the next step
Ready to take the step with microcement?
If this guide has cleared up your doubts, let's take the next step: work out the cost or ask us for a no-obligation quote in Málaga and across the Costa del Sol.